When it comes to woodworking, especially flooring projects, using the right tools can make or break your results. At the heart of this craft lies one essential tool: flooring router bits. These little wonders help transform raw wood or laminate into beautifully finished floors. Confused about how to pick the right one? Don’t worry—we’re here to make this super simple and easy to follow. Welcome to The Ultimate Guide to Choosing the Right Flooring Router Bit!
Why Flooring Router Bits Are a Big Deal
Flooring isn’t just about picking pretty wood. The magic happens when the pieces connect flawlessly, creating a smooth and sturdy surface. For this, you need precision, and that’s where flooring router bits step in. These tools are designed for precision cutting, creating wood profiles, and ensuring a seamless finish. Whether you’re working on hardwood cutting or shaping laminate flooring, the right router bit gets the job done.
The Basics of Router Bits
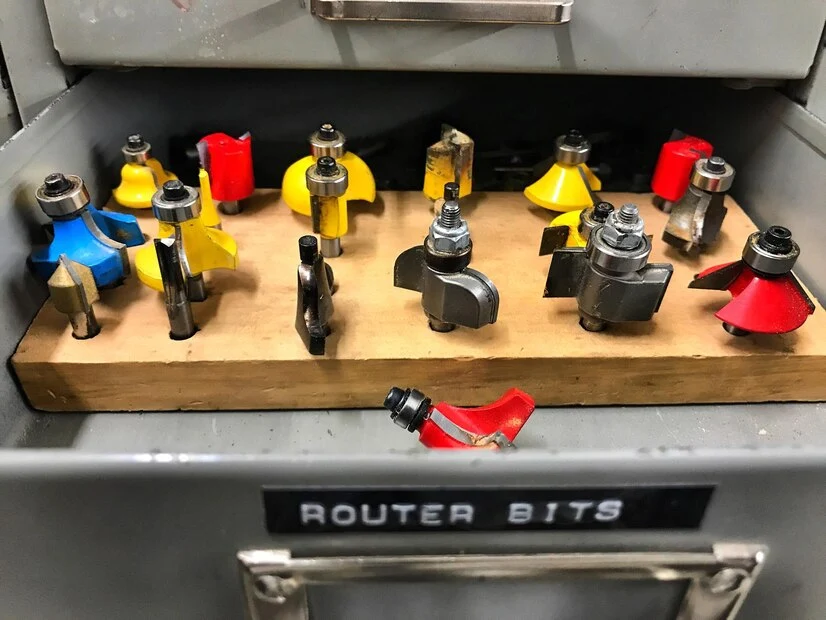
Before jumping into what you need for flooring, let’s cover the basics. Router bit types vary depending on what they’re meant to do. Some are great for shaping edges, others for grooves, and some even tackle heavy-duty tasks like dado cuts (we’ll explain that later).
For flooring, pay attention to bits made for these tasks:
- Tongue and Groove Router Bits for 3/4 Flooring
These carve out the interlocking edges that hold planks together. - Flush Trim Bits
Perfect for providing clean cuts along the edge of your boards. - Mortising Bits
Often used in more intricate designs, these are great for creating deeper recesses or slots.
Choosing the right bit ensures your flooring pieces fit snugly while offering a professional finish.
How to Choose the Right Flooring Router Bit
1. Know the Material You’re Working With
Different jobs call for different bits. For dense hardwood like oak, there are special hardwood flooring router bits, while laminate flooring router bits are better for thinner pieces. If you’re working on engineered wood, a router bit for engineered flooring will suit your needs.
2. Bit Shank Size Matters
Most router bits come in two sizes for the “shank,” the part that attaches to the router. A 1/2-inch shank is sturdier and provides more stability, ideal for flooring projects. A 1/4-inch shank, though less stable, can still work in lighter tasks.
3. Cutting Depth
Tailor the depth to your material’s thickness. For example, if you’re working on 3/4-inch planks, you might need a 3 4 hardwood flooring router bit or similar.
4. Router Bit Selection Based on Design Types
Whether you’re going for tongue-and-groove, click-lock systems, or custom designs, selecting the appropriate bit like a tongue and groove router bit for hardwood flooring or a click lock flooring router bit is essential.
Tips for Using Router Bits Like a Pro
Using router bits doesn’t have to be a challenge. Follow these steps for success:
Use a Router Table
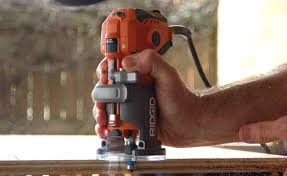
While you can use a router handheld, some complex flooring tasks, like forming the perfect flooring tongue and groove router bits, are better done on a router table. It provides more control and better safety.
Prioritize Safety
Speaking of safety, never forget your gear! Safety precautions include goggles, ear protection, and gloves. Working with high-speed tools involves risks, so be careful.
Practice on Scrap Pieces
Always test your Router bit applications on scrap wood to make sure you’ve got the right cutting techniques before working on the “real deal.”
Dust Control Measures
Routers create a lot of dust. A shop vacuum or dust collection system will keep your workspace clean and safe, not to mention prevent sneezes!
Ensure Smooth Edges
After using tongue groove router bits flooring, you may notice rough edges. Use flush trim bits or edge finishing bits to smooth them out for a polished look.
Best Router Bits for Flooring Projects
Here’s a cheat sheet of the best tools for different situations:
- Tongue and Groove Flooring Router Bit Set
This is your go-to for creating perfect interlocking joints. It’s a favorite for both hardwood and engineered wood. - Hardwood Floor Router Bit Set
Designed specifically for dense materials, these bits prevent chipping and cracking. - Slip Tongue Flooring Router Bits
Excellent for when you need to work on floors with tricky layouts like corners. - Router Bits for Hardwood Floor Groove
Specially made for carving grooves in tougher materials like maple or oak.

Maintaining Your Router Bits
A dull bit can ruin your material, so keep them in top shape with regular router bit maintenance:
- Clean After Every Use: Bits accumulate resin and wood dust that can dull them.
- Check for Wear and Tear: Inspect for chips or cracks before each use.
- Sharpening Tips: Invest in a sharpening tool or use a professional service. A sharp tool creates smooth edges every time.
DIY Woodworking or Call a Pro?
Here’s the big question. Should you try this yourself or hire someone? With the right tools, like a flooring router bit set, and some patience, you can definitely DIY. However, if you’re unsure about tasks like working with wood cutting techniques or router operation safety, hiring a pro is a safe bet.
Wrapping It Up
By now, you have everything you need to know about choosing the right flooring router bits. Remember these key points:
- Use a tongue and groove router bit set suitable for your material and floor type.
- Prioritize quality over cost. A good hardwood flooring router bit will last much longer than a cheap alternative.
- Practice woodworking projects on scraps to get the hang of your cutting techniques.
- Take care of your tools! Regular router bit maintenance keeps them in great shape.
With the right tools and some practice, you’re well on your way to creating a stunning, professional-looking floor. Now go, grab those flooring router bits, and start building! and make those floors shine! beautiful flooring.

