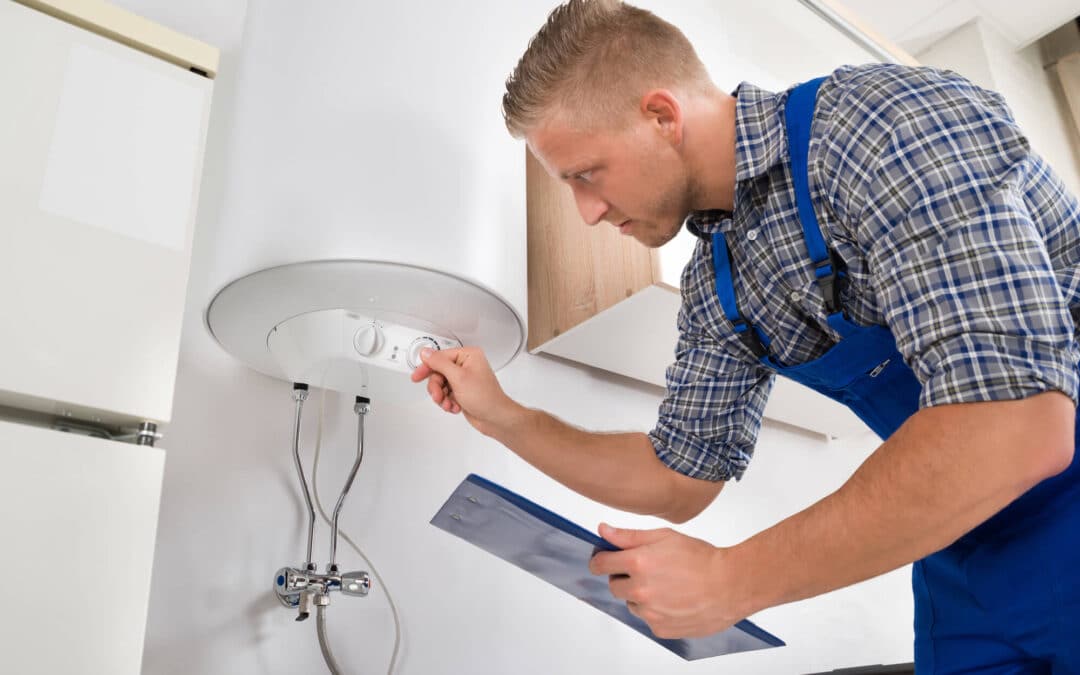
Hey there, DIY enthusiasts!
Great choice on deciding to tackle the installation of a water heater on your own! That’s fantastic! With some know-how and a sprinkle of caution, you’ll have hot water flowing in no time. Whether opting for a more energy-efficient model or replacing an older unit, embarking on this project independently can prove rewarding and budget-friendly. Additionally, you’ll acquire valuable skills applicable to future home maintenance endeavours. So, grab your tools and dive into the friendly guide on installing a water heater safely and effectively.
Collect the necessary tools and supplies.
Embark on your project by meticulously assembling all indispensable tools and supplies required for the task at hand.
Safety First
Before initiating any actions, let’s first discuss safety precautions. Switch off the power or gas supply to your current water heater.
To start gas-powered water heaters, adjust the gas control knob to the “pilot” setting. Ensure the water heater has cooled down if it has been used recently. Wear protective goggles and work gloves to protect your eyes and hands and maintain installation safety.
Empty the old water heater’s contents
Empty the old water heater’s contents by draining it completely.
Connect a garden hose to the drainage outlet at the bottom of the existing water heater. Direct the hose toward a nearby drain or outdoor area where hot water won’t pose any risk of damage.
Turn the drain valve to the open position to allow the tank to fully empty. Subsequently, remove and appropriately dispose of the old water heater. Once the old water heater is drained, disconnect it from the water pipes and the gas or power supply. Use your wrenches to loosen and remove the fittings and pipes. Be careful, as some water may still be left in the pipes.
Get the space ready for the installation.
Prepare the area for the installation of the new water heater. Clear the designated installation area for the new water heater, ensuring ample space for proper ventilation and future maintenance needs.
Finish installing the new water heater.
Position the new water heater with care, ensuring it is placed correctly. Proceed to connect the water pipes to the suitable fittings, utilizing Teflon tape to seal the threads securely. If installing a gas water heater, connect the gas supply line using a gas pipe wrench and apply pipe sealant to the threads. Perform a leak test to confirm that there are no leaks within the system.
After ensuring all connections are properly secured, turn on the water supply and thoroughly inspect for any signs of leaks. Closely monitor the connections and fittings for any signs of water leakage. If installing a gas water heater, meticulously adhere to the manufacturer’s guidelines for igniting the pilot light and conducting tests for gas leaks.
Perform a final inspection.
Perform a thorough final inspection to ensure that everything is in proper condition.
Verify all connections and fittings for their tightness to ensure everything is secure. Turn on the power or gas supply to the water heater and set the temperature to your desired level. Give the water heater time to heat up, and you’re ready to go! You’ve successfully installed a water heater.
Wrapping Up
And there you have it, folks! Setting up a water heater doesn’t need to feel overwhelming. With the right tools, patience, and a focus on safety, you can tackle this project like a pro. If you ever feel uncertain or uncomfortable with any part of the process, don’t hesitate to contact a professional plumber for assistance. Happy DIY-ing, and enjoy your endless supply of hot water!
Consider Professional Assistance
- Consultation with a Plumbing Service: If you’re uncertain about any aspect of the installation process or your water heater requires complex adjustments, consider scheduling a consultation with a reputable plumbing service. Professional guidance is available, and they can even offer assistance with the installation if needed.
- Emergency Plumbing Services: Familiarize yourself with local emergency plumbing services if you encounter unexpected installation challenges. Having their contact information readily accessible can offer peace of mind and swift access to assistance.
- Maintenance Plans: Many plumbing services offer maintenance plans for water heaters. Explore enrolling in a plan that encompasses routine inspections and tune-ups to extend the longevity of your water heater and mitigate the risk of expensive repairs in the future.
Wrapping Up
Considering these additional points regarding plumbing services, you’re taking proactive steps to ensure your water heater’s successful installation and long-term performance. Remember, safety and thoroughness are essential in DIY projects involving plumbing. Installing a water heater yourself can be a gratifying accomplishment, so never hesitate to contact professional plumbers if you encounter any difficulties beyond your comfort level. Their expertise can provide invaluable assistance and ensure everything runs smoothly. So, happy installing, and may your hot water flow freely!

