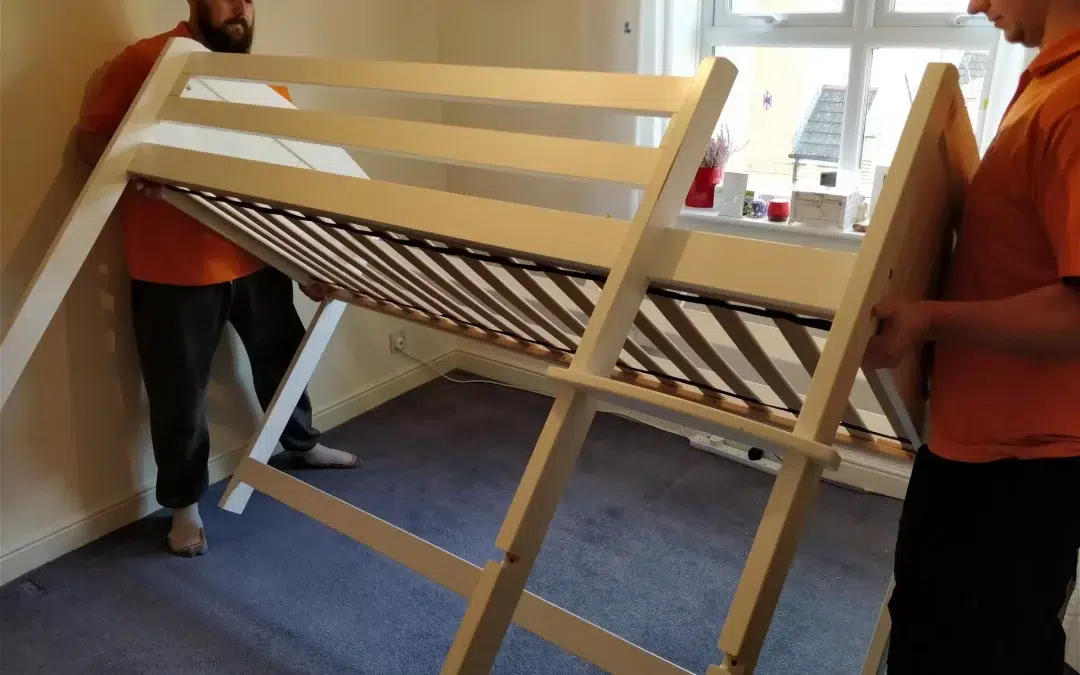
Desk beds, also known as Murphy beds, are a popular space-saving solution for small apartments or rooms. However, there may come a time when you need to disassemble your desk bed, either for moving purposes or to make room for a new piece of furniture. In this step-by-step guide, we will walk you through the process of disassembling a desk bed.
Materials and Tools:
- Screwdriver
- Allen wrench
- Hammer
- Pliers
- Rubber mallet
- Tape measure
- Safety glasses
- Gloves
Step 1: Clear the Area
Before you begin disassembling your desk bed, clear the area around it to provide ample space to work. Remove any bedding, pillows, or other items from the bed, and move any furniture or other objects away from the bed to create a clear workspace.
Step 2: Remove the Mattress
Start by removing the mattress from the bed. This will make it easier to access the frame and hardware. Fold the mattress and set it aside in a safe place.
Step 3: Remove the Desk Top
Next, remove the desktop from the bed frame. Use a screwdriver or Allen wrench to remove any screws or bolts that are holding the desktop in place. Set the desktop aside in a safe place.
Step 4: Remove the Supports
Desk beds are designed to be supported by a frame that is attached to the wall. Begin by using a tape measure to measure the distance between the bed frame and the wall. This will help you to reassemble the bed in the correct position.
Use a screwdriver or Allen wrench to remove any screws or bolts that are holding the bed frame to the wall. If the bed frame is attached with nails, use pliers to remove the nails.
Step 5: Disassemble the Bed Frame
Once the bed frame is free from the wall, you can begin disassembling it. Start by removing any screws or bolts that are holding the bed frame together. Use a rubber mallet or hammer to gently tap the frame apart if it is difficult to separate the pieces.
If the bed frame has a locking mechanism, use a screwdriver or Allen wrench to unlock it. Gently pull the bed frame apart and remove any hardware that is still attached.
Step 6: Remove the Springs and Hardware
With the bed frame disassembled you can remove the springs and hardware that are used to support the mattress. Use a screwdriver or Allen wrench to remove any screws or bolts that are holding the springs in place. Gently pull the springs off the bed frame.
If there are any hardware pieces that are still attached to the bed frame, remove them using a screwdriver or pliers. Desk beds,
Step 7: Pack and Store the Parts
Once you have disassembled the desk bed, it’s important to pack and store the parts carefully. Keep all hardware and screws in a safe place, such as a labeled plastic bag. Wrap the bed frame and other pieces in bubble wrap or moving blankets to protect them during transport or storage.
Safety Tips:
- Wear safety glasses and gloves when using power tools.
- Take care when handling heavy materials and equipment.
- Make sure the area around the desk bed is clear of any obstacles.
- Use a rubber mallet or hammer to gently tap the bed frame apart to avoid damaging the wood or hardware.
- Keep all hardware and screws in a safe place to avoid losing them.
In conclusion, disassembling a desk bed can seem daunting at first, but by following these simple steps and taking the necessary safety precautions, you can complete the process with ease. Remember to pack and store the parts carefully to ensure that they remain in good condition for future use.

