")
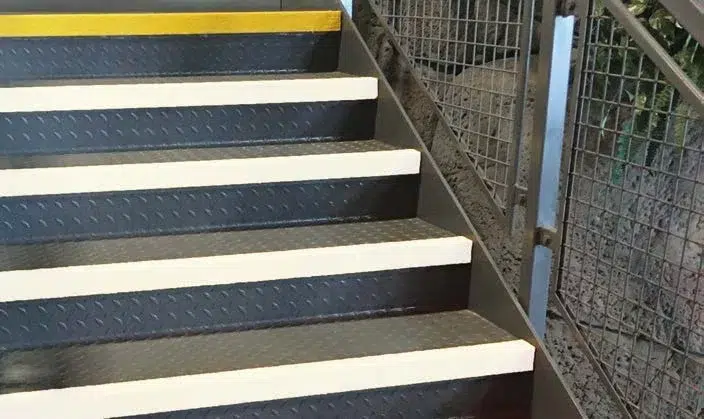
GRP (Glass Reinforced Plastic) stair nosing is an essential component for any set of stairs, providing a non-slip surface that can help prevent accidents and improve safety. GRP stair nosing is made from a composite material that is lightweight, durable, and resistant to corrosion, making it an ideal choice for both indoor and outdoor staircases. In this step-by-step guide, we will walk you through the process of installing GRP stair nosing on your stairs.
Materials Needed:
- GRP stair nosing
- Measuring tape
- Pencil
- Handsaw or jigsaw
- Drill
- Screws
- Screwdriver
- Adhesive (optional)
Step 1: Measure the Stairs
The first step in installing GRP stair nosing is to measure the stairs. Use a measuring tape to determine the length and width of each step, as well as the depth of the overhang (if applicable). This information will help you choose the right size and shape of GRP stair nosing for your stairs.
Step 2: Cut the GRP Stair Nosing
Once you have measured the stairs, it’s time to cut the GRP stair nosing to the correct size. Use a handsaw or jigsaw to cut the nosing to the appropriate length and shape, taking care to ensure that the ends are straight and even.
Step 3: Prepare the Stairs
Before installing the GRP stair nosing, you need to prepare the stairs. Start by cleaning the surface of each step, removing any debris, dirt, or dust. If necessary, use a wire brush or sandpaper to roughen the surface of the step to ensure a good bond.
Step 4: Apply Adhesive (Optional)
If you are using adhesive to attach the GRP stair nosing to the stairs, apply a bead of adhesive along the length of the stair nosing, taking care not to apply too much. If you are using a two-part epoxy adhesive, mix the two parts according to the manufacturer’s instructions before applying.
Step 5: Position the GRP Stair Nosing
Once the adhesive is applied (if applicable), position the GRP stair nosing on the step, taking care to align it properly with the edge of the step. If necessary, use a pencil to mark the position of the nosing before attaching.
Step 6: Secure the GRP Stair Nosing
Using a drill, screw the GRP stair nosing into place, making sure to countersink the screws so that they are flush with the surface of the nosing. Depending on the size and shape of the nosing, you may need to use multiple screws to ensure a secure fit. set of stairs
Step 7: Repeat for Each Step
Once the first GRP stair nosing is installed, repeat the process for each step. Taking care to measure and cut the nosing to the appropriate size and shape for each step. Make sure that each nosing is aligned properly with the edge of the step. And that the screws are countersunk and flush with the surface of the nosing.
Step 8: Finish the Installation
Once all of the GRP stair nosing is installed, finish the installation by inspecting each step to ensure that the nosing is securely attached and flush with the surface of the step. If necessary, use a file or sandpaper to smooth any rough edges or uneven areas.
In conclusion, GRP stair nosing is an important safety feature for any set of stairs. It provides a non-slip surface that can help prevent accidents and improve safety. And it is easy to install with the right tools and materials. By following these simple steps, you can install GRP stair nosing on your stairs and enjoy the benefits of improved safety and peace of mind. Additionally, GRP stair nosing is a cost-effective solution that requires minimal maintenance. Making it a smart choice for both residential and commercial applications.