")
Adjusting the pilot light on a gas fireplace is an important maintenance task that should perform regularly to ensure your fireplace operates efficiently and safely. The pilot light is a small flame that stays lit all the time, and it is used to ignite the main burner when you want to use your fireplace. If the pilot light is not adjusted correctly, it can lead to a variety of problems, such as reduced efficiency, increased energy bills, and even safety hazards.
Before we begin, it’s important to note that if you’re not comfortable working with gas appliances or if you’re unsure of what you’re doing, it’s best to call a professional. Safety is paramount when working with gas appliances, so be sure to follow all safety guidelines and use proper equipment.
Here’s how to adjust the pilot light on a gas fireplace in 7 easy steps:
Step 1: Turn off the Gas Supply
Before you begin any work on your gas fireplace, you need to turn off the gas supply. This can usually be done by turning a valve near the fireplace or at the main gas meter. If you’re unsure where the valve is located, consult the owner’s manual or contact a professional.
Step 2: Remove the Access Panel
Once the gas supply turns off, you can remove the access panel to access the pilot light. The access panel is usually located on the front of the fireplace and can be easily remov by unscrewing the screws holding it in place.
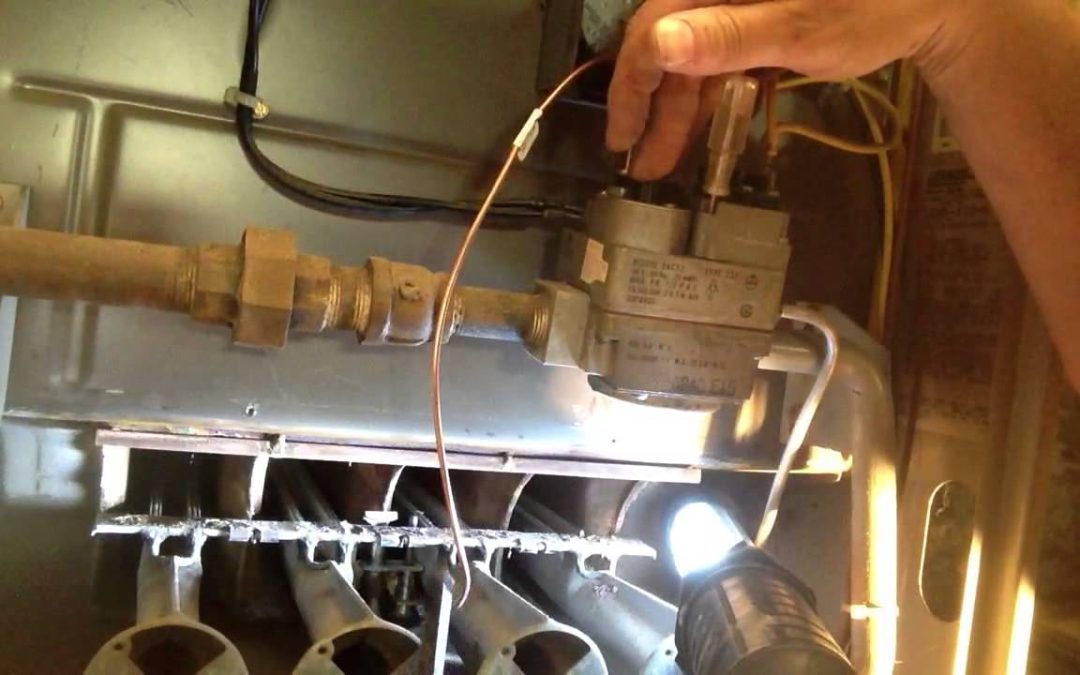
Step 3: Locate the Pilot Light
The pilot light is a small flame located near the base of the fireplace. It’s usually located on the right or left side of the burner and is visible through a small opening in front of the fireplace.
Step 4: Clean the Pilot Light
Over time, the pilot light can become dirty or clogged with debris. Before adjusting the pilot light, it’s important to clean it thoroughly using a soft-bristled brush or a can of compressed air. This will ensure that the flame burns clean and evenly.
Step 5: Adjust the Pilot Light
Flame To adjust the pilot light flame, you’ll need to locate the adjustment screw. The adjustment screw is usually located near the pilot light and can adjust using a small screwdriver. Turn the screw clockwise to decrease the size of the flame, or counterclockwise to increase the size of the flame.
Step 6: Check the Flame
Once you’ve adjusted the pilot light flame, you’ll need to check it to ensure it’s burning correctly. The flame should be blue and stable, with a small yellow tip. If the flame is mostly yellow or orange, or if it flickers or dances, it may indicate that the pilot light needs further adjustment or cleaning.
Step 7: Replace the Access Panel and Turn on the Gas Supply
Once you’re satisfi with the pilot light flame, you can replace the access panel and turn on the gas supply. Wait a few minutes for the gas to flow to the pilot light, then light the pilot light using a long lighter or match. Hold the control knob in the “pilot” position for 30 seconds to a minute, then release it. The pilot light should remain lit. If it doesn’t, repeat the process or contact a professional for assistance.
In conclusion,
adjusting the pilot light on a gas fireplace is a simple and easy task that can help ensure your fireplace operates efficiently and safely. It’s important to follow all safety guidelines and use the proper equipment when working with gas appliances, and if you’re unsure of what you’re doing or don’t feel comfortable, it’s best to call a professional. By taking good care of your gas fireplace, you can enjoy the warmth and comfort it provides for years to come.