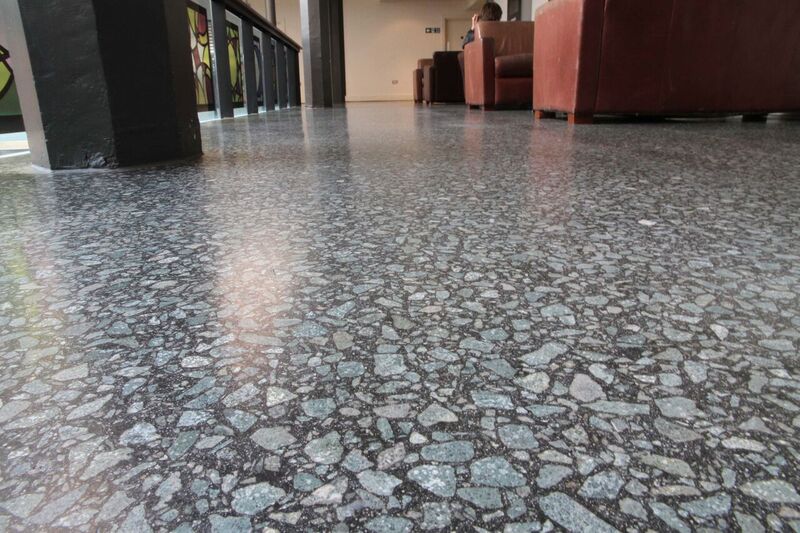
Asphalt flooring finds widespread popularity across multiple uses, such as driveways, parking lots, walkways, and sports surfaces. It offers durability, ease of installation, and a smooth, visually appealing finish. We will outline the process of installing asphalt flooring.
Planning and Preparation
Before starting the asphalt flooring installation, careful planning and preparation are essential. To proceed, identify the intended function of the space, evaluate the site conditions, and acquire any essential permits or approvals. Consider factors such as the expected traffic load, drainage requirements, and any existing infrastructure that needs to be taken into account.
Site Excavation and Preparation
Prepare the site by excavating the area to the desired depth. This typically involves removing the existing soil, vegetation, or old pavement to create a stable base for the asphalt. Ensure that the excavation depth allows for the proper thickness of the asphalt layer, considering factors such as traffic volume and intended use.
Subgrade and Base Preparation
Create a stable subgrade by compacting the soil beneath the excavation area. This helps to prevent settling and ensures a solid foundation for the asphalt. Depending on the soil conditions, additional measures such as geotextiles or sub-base materials may be required to enhance stability. Compact the subgrade using heavy equipment to achieve the desired density.
Installation of Aggregate Base
Add an aggregate base layer over the compacted subgrade. This layer provides further stability and acts as a load-bearing element for the asphalt. The thickness of the aggregate base will depend on the specific requirements of the project. Spread the aggregate material evenly and compact it using a roller or compactor to achieve the required density.
Application of Binder Course
The binder course, also known as the base course, is the first layer of asphalt that is applied to the prepared base. This layer typically consists of a coarser aggregate mix and provides structural strength to the asphalt pavement. The thickness of the binder course will depend on the expected traffic load and the specifications of the project. Use paving equipment, such as a paver or a skid steer, to spread and compact the binder course.
Application of Surface Course
The surface course is the final layer of asphalt that provides the smooth, finished appearance. It is composed of a finer aggregate mix compared to the binder course. Spread the surface course evenly over the binder course using paving equipment. Utilize a screed or other leveling tools to ensure a consistent thickness throughout. Compact the surface course using a roller to achieve optimal density and smoothness.
Finishing and Compaction
Once the surface course is laid, perform any necessary finishing touches. This may include edge trimming, creating smooth transitions, and ensuring proper drainage. Use hand tools or a compactor to address any irregularities and achieve a uniform surface. Pay attention to the edges and transitions to ensure seamless integration with existing surfaces or structures.
Curing and Maintenance
Allow the newly installed asphalt flooring to cure and harden. This typically involves keeping the area closed to traffic for a specified period, as recommended by the manufacturer or contractor. After the initial curing period, implement regular maintenance practices, such as seal coating and crack sealing, to extend the lifespan and appearance of the asphalt. Regular sweeping and cleaning will help to remove debris and prevent damage.
In conclusion, asphalt flooring offers a durable and visually appealing solution for a range of applications. By following this step-by-step guide, you can successfully install asphalt flooring, providing a smooth and functional surface. Ensure proper planning, site preparation, and adherence to industry standards to achieve a high-quality asphalt floor that will withstand the test of time.

