")
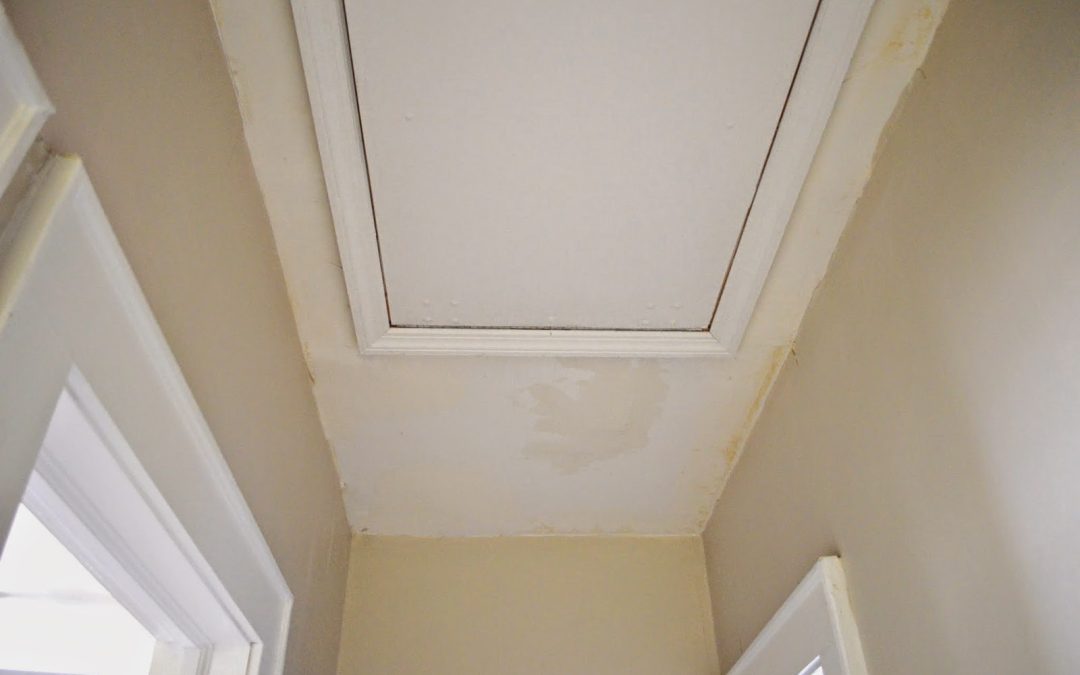
Attic doors are an essential part of a house, as they provide access to the attic, where you can store items, carry out maintenance work or even create additional living space. However, the attic door can be an eyesore, and it is often necessary to conceal it to improve the aesthetics of your home. The solution to this problem is to install an attic door trim. Attic door trim is a decorative frame that is placed around the attic door to make it more visually appealing. Here are some tips on how to install attic door trim.
Materials needed:
Attic door trim kit
Measuring tape
Saw
Drill
Screws
Paint or stain
Sandpaper
Step 1:
Measure the Attic Door The first step in installing attic door trim is to measure the size of the attic door. Measure the height and width of the door, as well as the thickness of the door. This measurement will be used to determine the size of the trim that you need.
Step 2:
Purchase the Attic Door Trim Kit Once you have measured the attic door, you need to purchase an attic door trim kit that matches the size of your attic door. You can find these kits at most hardware stores or online. Make sure to choose a kit that matches the style and color of your home.
Step 3:
Cut the Trim Using a saw, cut the trim to the size of the attic door. It is important to make precise cuts to ensure that the trim fits properly around the door. You may also need to cut notches in the trim to accommodate any hinges or latches that are on the door.
Step 4:
Sand the Trim Once the trim is cut to the correct size, use sandpaper to smooth out any rough edges. Sanding will also help the paint or stain adhere better to the wood.
Step 5:
Paint or Stain the Trim Before installing the trim, you should paint or stain it to match the color of your home. Apply a coat of paint or stain to the trim and let it dry completely. You may need to apply more than one coat to achieve the desired color.
Step 6:
Attach the Trim to the Attic Door Using a drill, attach the attic door. Use screws that are appropriate for the thickness of the door. Make sure that the trim is level and flush with the door. You may need to use shims to ensure that the trim fits tightly against the door.
Step 7:
Finish the Trim Once the trim is attached to the door, you may need to add some finishing touches. Fill any gaps between the trim and the door with wood filler, and sand the filler once it is dry. You can also add a decorative piece to the top of the trim to give it a more finished look.
Conclusion
The attic door is an easy and inexpensive way to improve the appearance of your home. With the right materials and some basic carpentry skills, you can install attic door in just a few hours. By following these simple steps, you can add a decorative frame to your attic door that will enhance the look of your home and hide the unsightly door.