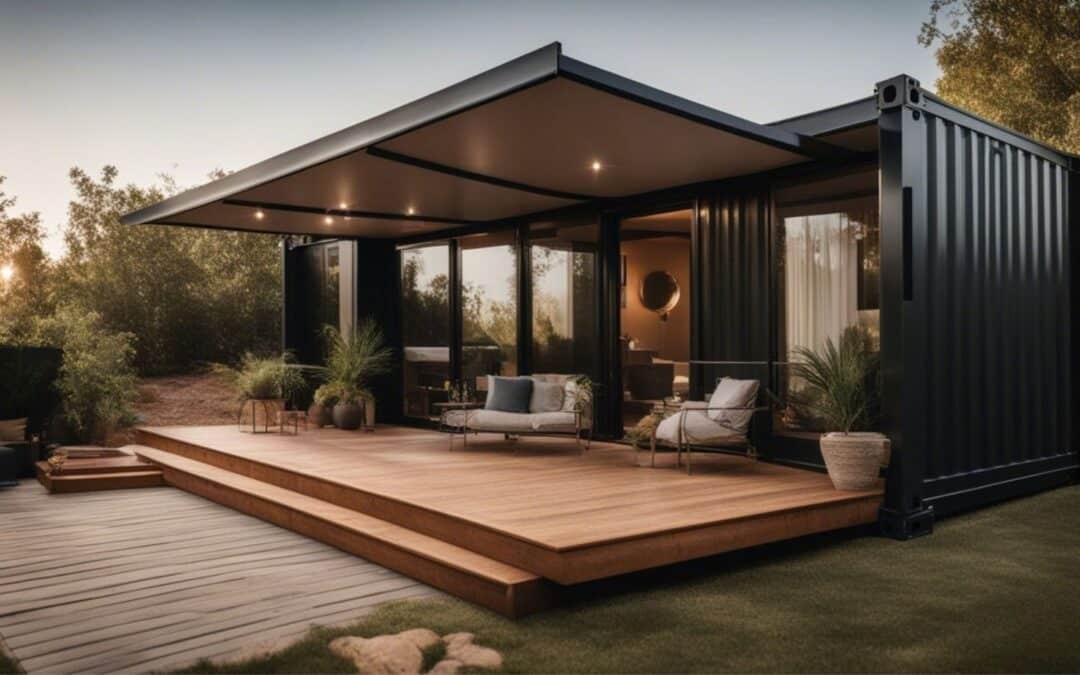
Have you ever thought about building your own home? It might seem like a complicated dream, but there’s a unique option that’s both affordable and creative: conex box houses! These homes are built from recycled shipping containers, those big metal boxes you see on ships and trucks. By transforming these containers, you can create a sturdy and stylish home that’s also good for the environment.
This guide will walk you through all the steps needed to turn a shipping container into your dream home. We’ll cover everything from planning and budgeting to construction and finishing touches. So, if you’re looking for an alternative way to build a strong, eco-friendly home, then keep reading, and let’s get started on your Conex box house adventure!
Planning Your Conex Box House: Dreams on a Budget
Before diving into construction, it’s important to have a clear plan for your Conex box house. Here are some key things to consider:
Budgeting for Your Dream:
Building any home requires careful planning, and cost is a big part of it. Decide how much you can comfortably spend on your entire project. This will help determine the size and complexity of your Conex house. Consider the number of Conex boxes you’ll need – a small house might use just one, while a larger home could use several connected.
Designing Your Layout:
Think about how you’ll use the space in your home. How many bedrooms and bathrooms will you need? Do you dream of a big kitchen for baking, or a cozy living room for movie nights? Sketch some ideas or use online design tools to visualize your ideal layout. Remember, shipping container dimensions differ but are typically 8 feet wide and come in various lengths, so factor those dimensions into your designs.
Building Regulations:
Every town or city has rules about what you can build and how. It’s important to research the local building codes to ensure your Conex house meets all safety and construction standards. This might involve getting permits from your local building department. Don’t worry, this step is just to make sure your home is safe and up to code! There are many resources available online or at your local department office to help you navigate this process.
Finding Your Perfect Spot:
Once you have a plan, you’ll need a place to build your dream! Look for a piece of land with easy access for bringing in the Conex boxes. Think about how close you want to be to utilities like water and electricity lines. You might also need to consider if the ground needs to be leveled before construction begins.
By planning ahead and taking care of these initial steps, you’ll be well on your way to transforming those steel boxes into your very own Conex house!
Building Your Conex Box House: Turning Steel into Home
Now that you’ve planned and prepared, it’s time to get hands-on! Here’s a breakdown of the main construction phases for your Conex box house:
Foundation First:
Every house needs a strong base, and your Conex home is no exception. There are different foundation options to choose from, depending on your soil and local building codes. A common choice is a concrete slab, like a thick, flat piece of pavement poured on the ground. Another option is using piers, which are like strong posts buried into the ground to support the weight of the conex boxes. Screw piles are another possibility – these are giant screws drilled deep into the ground for stability. No matter which type you choose, make sure it can handle the weight of your finished Conex house.
Bringing in the Boxes:
Once the foundation is ready, it’s time for the stars of the show – the conex containers! Buy shipping containers that can be delivered by a professional trucking company with the proper equipment. Once they arrive, a crane will carefully lift and place them onto your foundation according to your plan.
Making Connections:
If you’re using multiple Conex boxes, you’ll need to connect them to create a larger living space. This might involve cutting doorways and hallways between the containers. To keep the structure strong after cutting openings, metal reinforcements are welded around the new doorways. Think of them like a metal frame around the doorway to hold everything together. Finally, all gaps and openings around windows, doors, and connections need to be carefully sealed to keep out water and air.
Staying Warm and Cool:
Conex boxes are metal, which means they can get hot in the summer and cold in the winter. To make your home comfortable year-round, you’ll need to add insulation. This can be sprayed foam insulation applied to the walls and ceiling, or thick mats of insulation like rockwool installed within a new interior frame. No matter which type you choose, proper insulation is key to keeping your energy bills low and your home feeling cozy.
In the next section, we’ll explore how to bring your Conex box house to life with interior finishes and a roof!
Finishing Touches: Making Your Conex Box Dream a Reality
We’ve reached the exciting part – transforming the raw interior of your Conex boxes into a beautiful and functional home! This involves essential elements like:
- Bringing the Inside In: Imagine installing electrical wiring and plumbing to power your lights, appliances, and showers. Interior walls might framed and covered with drywall or other materials. Flooring, doors, and windows will installed to create a finished look.
- Don’t Forget the Roof: Your Conex house needs a roof to keep out the elements. There are many roof options to choose from, flat roofs are common for Conex houses, but pitched roofs are also possible. The key is to select a roof design that complements your overall vision and meets local building codes.
With these finishing touches, your Conex box house will be ready to call home!

