")
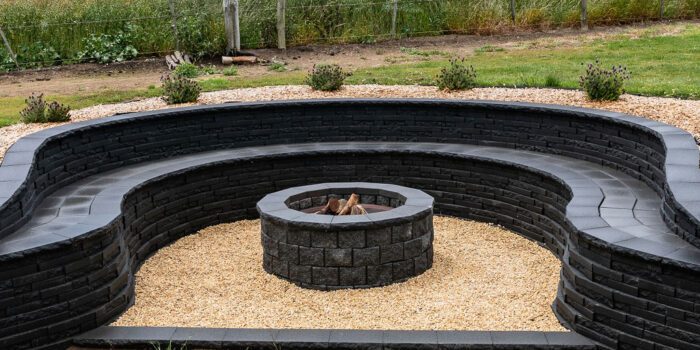
Capping a curved retaining wall is an important step in finishing the installation of a retaining wall. A retaining wall is designed to hold back soil, rocks, or other materials and prevent erosion or soil movement. Capping the wall adds an extra layer of protection against weather damage, helps improve the appearance of the wall and protects the wall from water penetration. Here’s how to cap a curved retaining wall in 7 easy steps:
Step 1: Choose Your Capping Material
The first step in capping a curved retaining wall is choosing the right material. You have several options, including concrete, natural stone, brick, and wood. Each material has its own unique advantages and disadvantages, so choose the one that best fits your needs and budget.
Step 2: Measure the Wall
Measure the length and width of the wall, and then add an additional 1/2 inch to each measurement. This will give you the dimensions you need for the capping material. You can use a tape measure or other measuring tools to get accurate measurements.
Step 3: Cut the Capping Material
Using a saw or other cutting tool, cut the capping material to the appropriate size. Make sure to wear protective gear, such as goggles and gloves, when cutting the material. If you’re using natural stone, you may need to use a chisel and hammer to shape the pieces to fit the curves of the wall.
Step 4: Prepare the Wall
Before you begin installing the capping material, prepare the wall by cleaning it thoroughly. Remove any debris, dirt, or other materials from the wall, and make sure it’s free of any loose or broken pieces. If necessary, repair any damage to the wall before proceeding.
Step 5: Apply Adhesive
Apply a layer of adhesive to the top of the wall, using a trowel or other tool to spread it evenly. Make sure to use an adhesive that’s appropriate for the type of capping material you’re using. If you’re using natural stone, you may need to use a mortar mix instead of adhesive.
Step 6: Install the
Capping Material Carefully place the capping material onto the adhesive, starting at one end of the wall and working your way to the other end. If you’re using natural stone or brick, you may need to use a hammer and chisel to shape the pieces to fit the curves of the wall. Make sure to press the capping material firmly onto the adhesive, and check for level and alignment as you go.
Step 7: Allow the Adhesive to Dry
Once you’ve installed the capping material, allow the adhesive to dry completely before using the wall. This can take several hours or even a full day, depending on the type of adhesive you’re using and the weather conditions. Make sure to follow the manufacturer’s instructions for drying time and other important information.
In conclusion,
capping a curved retaining wall is a relatively simple process that can add an extra layer of protection and improve the appearance of your wall. Choose the right capping material for your needs and budget, measure and cut the material to the appropriate size, prepare the wall by cleaning and repairing any damage, apply adhesive to the top of the wall, install the capping material carefully, and allow the adhesive to dry completely before using the wall. By following these steps, you can cap your curved retaining wall and enjoy its benefits for years to come.