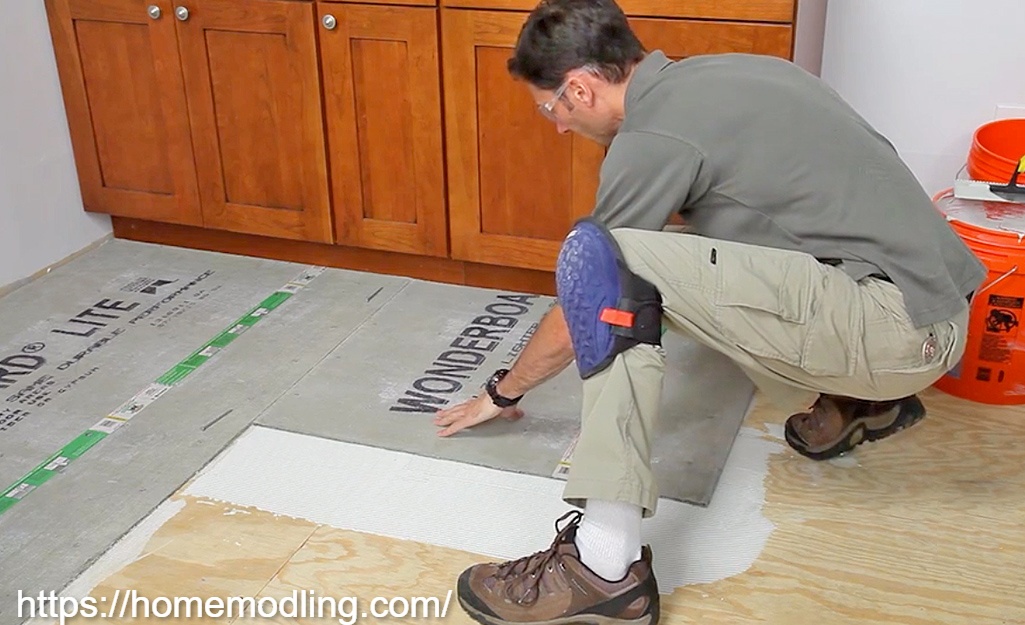
Cement board is a sturdy building material that is commonly used as a base for ceramic tile and other moisture-prone areas like bathrooms and kitchens. Proper installation of cement boards is crucial to ensure a durable and long-lasting surface for your tile installation. Follow this step-by-step guide to learn how to install cement boards effectively.
Materials Needed:
- Cement boards sheets
- Tape measure
- Pencil
- Utility knife
- Straightedge or level
- Cement boards screws or nails
- Drill or screwdriver
- Notched trowel
- Joint tape
- Thin-set mortar
- Safety goggles and dust mask
Prepare the Surface
Ensure the surface where you will be installing the cement board is clean, dry, and free from dust or debris. If you are installing over studs, make sure they are straight and even.
Measure and Cut Cement Boards
Measure the area where the cement boards will be installed and mark the dimensions on the cement board sheets. Use a straightedge or level to guide your cuts. Score the cement board with a utility knife and snap it along the score line. For curved cuts, use a jigsaw or a hole saw.
Install the Bottom Row
Begin at the bottom of the installation area. Place the first sheet of cement boards on the surface and ensure it is flush against the wall or studs. Use a pencil to mark the location of the studs on the cement board.
Attach Cement Board
Secure the cement board to the surface using cement boards screws or nails. Place screws or nails every 8 inches along the edges and every 12 inches in the center of the board. Be sure to countersink the screws slightly below the surface of the cement boards without breaking the face of the boards.
Cut and Fit Adjacent Sheets
Repeat the measuring, cutting, and installation process for adjacent sheets of cement boards. Leave a 1/8-inch gap between sheets and 1/4-inch gap between the edges of the cement board and the walls or fixtures to allow for expansion.
Tape the Joints
Apply fiberglass mesh joint tape over the seams between cement boards sheets. Use a notched trowel to spread thin-set mortar over the tape, pressing it firmly into the joints. Smooth out any excess mortar with the flat side of the trowel.
Apply Thin-Set Mortar
Before tiling, apply a coat of thin-set mortar over the entire surface of the cement boards using the notched side of the trowel. Ensure the mortar is evenly distributed and covers the joints and screw heads.
Allow Mortar to Cure
Allow the thin-set mortar to cure according to the manufacturer’s instructions before proceeding with tile installation. This typically takes 24 to 48 hours depending on the climate and conditions.
Clean Up
Clean up any excess mortar or debris from the cement boards surface and surrounding areas. Ensure the installation area is clean and ready for tile installation or other finishing materials.
Proceed with Tile Installation
Once the cement board is installed and the mortar is cured, you can proceed with installing ceramic tiles or other finishing materials using thin-set mortar or adhesive as recommended by the tile manufacturer.
Conclusion:
Installing cement board requires careful planning, accurate measurements, and proper technique to ensure a strong and stable substrate for tile and other finishes. By following this step-by-step guide, you can successfully install cement board and create a durable and moisture-resistant surface for your next tiling project.

