")
Introduction
Building an outdoor kitchen is a dream project for many homeowners. While it’s an ambitious endeavor, handling some of the work yourself, like the plumbing, can save money and add personal satisfaction. This article provides a step-by-step guide on how to install plumbing for your outdoor kitchen, ensuring you have access to water for cooking, cleaning, and more.
1: Design and Planning
Before diving into the plumbing work, carefully plan the layout of your outdoor kitchen. Decide where the sink, dishwasher, or any other water-reliant appliances will be located. Consider how your kitchen’s plumbing will connect to your home’s existing water supply and drainage system.
- Draw a detailed plan: Sketch the layout, including water fixtures and connections.
- Check local codes: Ensure your design complies with local building and plumbing codes.
- Gather materials and tools: List all necessary pipes, fittings, valves, and plumbing tools.
2: Installation of Water Supply Lines
Materials Needed:
- PVC or copper pipes (depending on local codes and your preference)
- Pipe cutter
- Pipe fittings (elbows, T-joints, etc.)
- Solvent (for PVC) or soldering materials (for copper)
Instructions:
- Turn off the main water supply to avoid any accidents.
- Dig trenches for the water lines from your home’s main supply to the location of your outdoor kitchen. Ensure the trenches are deep enough to prevent the pipes from freezing.
- Lay the pipes within the trench, connecting them from the main supply line to the appliances and fixtures in your outdoor kitchen. Use appropriate fittings to change direction or split the line.
- Secure and protect the pipes using clamps and pipe insulation.
3: Install Drainage System
Materials Needed:
- PVC drainage pipes
- P-trap and additional fittings
- Gravel and sand for bedding
Instructions:
- Plan your drainage to connect to your home’s wastewater system or an approved drainage field.
- Install a P-trap under the sink to prevent odors from entering the kitchen.
- Lay the drainage pipes, ensuring they have a slight downward slope (about 1/4 inch per foot) towards the main drain.
- Test the drainage by running water through the system to check for leaks.
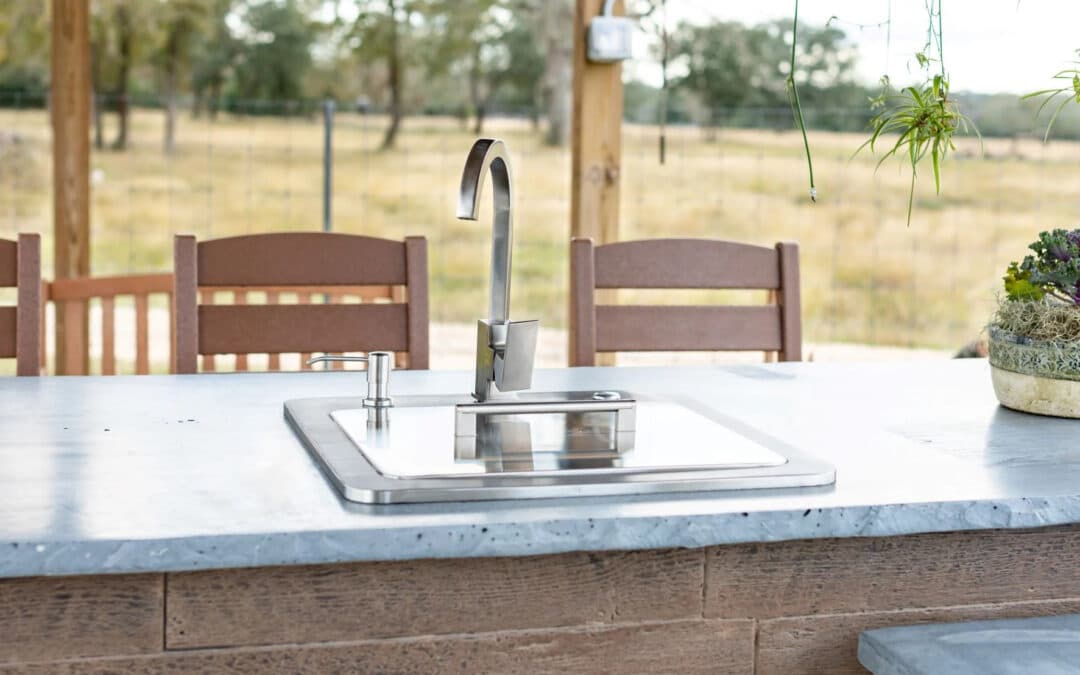
4: Hook Up Fixtures
Once the main lines are installed, you can connect the plumbing fixtures in your outdoor kitchen.
Materials Needed:
- Flexible water supply lines
- Wrenches and screwdrivers
- Teflon tape
Instructions:
- Install the sink and faucet: Attach the flexible supply lines to the faucet and connect them to the corresponding water supply pipes.
- Secure all connections: Use Teflon tape on threaded joints to ensure a watertight seal. Tighten all connections with wrenches but avoid over-tightening, which can cause damage.
5: Final Testing
Before covering up the trenches and finishing your kitchen, conduct thorough testing to ensure there are no leaks and everything functions as expected.
- Turn on the water supply and inspect all connections for leaks.
- Test all fixtures to ensure proper water flow and drainage.
- Make adjustments as necessary, tightening any fittings and checking for steady water pressure.
Conclusion
Installing plumbing for an outdoor kitchen can be a complex but rewarding DIY project. By following these detailed steps and adhering to local building codes, you can efficiently provide water supply and drainage to your outdoor kitchen, enhancing your cooking and entertaining experienc