")
Knock-down texture walls have been a popular choice for adding visual interest and depth to interior spaces. However, over time, preferences change, and homeowners often find themselves wanting to achieve a smoother and more contemporary look.
preparing the Workspace
Prior to starting, it is crucial to prepare your workspace adequately to ensure a streamlined and effective process. Start by removing any furniture or items that may obstruct your work area. Cover the floors and furniture with drop cloths or plastic sheets to protect them from dust and debris. Additionally, ensure proper ventilation by opening windows or using fans.
Tools and Materials
To effectively remove the knock-down texture, you’ll need the following tools and materials:
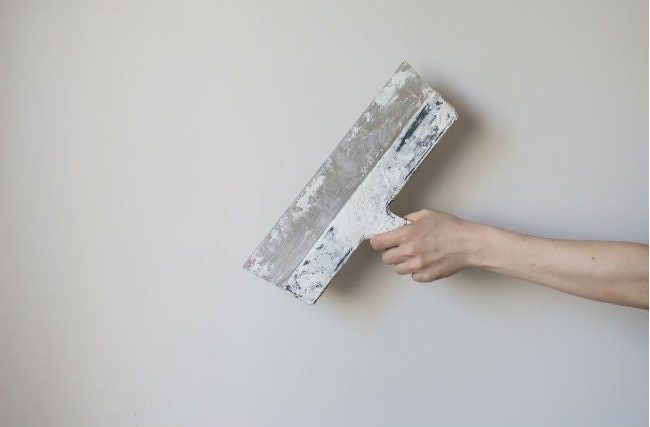
Wide putty knife or drywall scraper
Sanding block or sandpaper (medium and fine grit)
Spray bottle filled with warm water
Plastic sheeting
Painter’s tape
Dust mask
Safety goggles
Drywall joint compound
Primer
Paint roller and brush
Testing a Small Area
Before tackling the entire wall, it’s advisable to test a small area first to understand the extent of the effort required. Use your putty knife or drywall scraper to gently scrape a small section of the knock-down texture. Observe the results and assess the level of difficulty involved in removing the texture.
Scrape the Texture
Once you’ve determined the effort required, proceed with scraping the knock-down texture from the walls. Working in small sections, hold your putty knife or drywall scraper at a slight angle and scrape off the texture. Be careful not to apply excessive pressure, as it may damage the underlying drywall. Continue scraping until the desired level of smoothness is achieved.
Smoothing the Surface
After removing the knock-down texture, you may notice some imperfections on the wall’s surface. To achieve a perfectly smooth finish, use your sanding block or sandpaper to gently sand the walls. Commence the process by using medium grit sandpaper to eliminate any lingering texture, and subsequently transition to fine grit sandpaper to achieve a smoother surface.
Clean the Walls
After completing the sanding process, it is of utmost importance to meticulously clean the walls, eliminating any traces of dust or debris. Employ a damp cloth or sponge to wipe down the walls, ensuring they are entirely free from particles. Allow the walls to dry entirely before proceeding to the subsequent step.
Apply Joint Compound
To further enhance the smoothness of the walls, apply a thin layer of drywall joint compound. Use a putty knife or drywall trowel to spread the compound evenly across the wall’s surface. Feather the edges to create a seamless transition between the compound and the surrounding area. Ensure that the joint compound is allowed to dry completely, following the instructions provided by the manufacturer.
Sand and Prime
Once the joint compound is dry, sand the walls again using fine-grit sandpaper to achieve a flawless finish.
After completing the sanding process, thoroughly remove any dust and proceed to apply a coat of primer to the walls. The primer will help create a uniform surface and ensure proper paint adhesion.
Paint the Walls
You can now proceed to put a fresh coat of paint on your walls, selecting the color that best suits your preference. Utilize a paint roller for larger areas and a brush for corners and edges. Apply multiple coats as required, ensuring that each coat is allowed ample time to dry before progressing to the subsequent coat. It is crucial to adhere to the specific instructions provided by the paint manufacturer to attain optimal results.
Conclusion:
By following these steps, you can successfully remove knock-down texture from your walls and achieve a smooth and modern look for your space. It is essential to maintain a patient and deliberate approach throughout the entire process. By utilizing the appropriate tools, and materials, and investing a little effort, you have the ability to revitalize your walls and achieve the desired aesthetic appeal within your home.