")
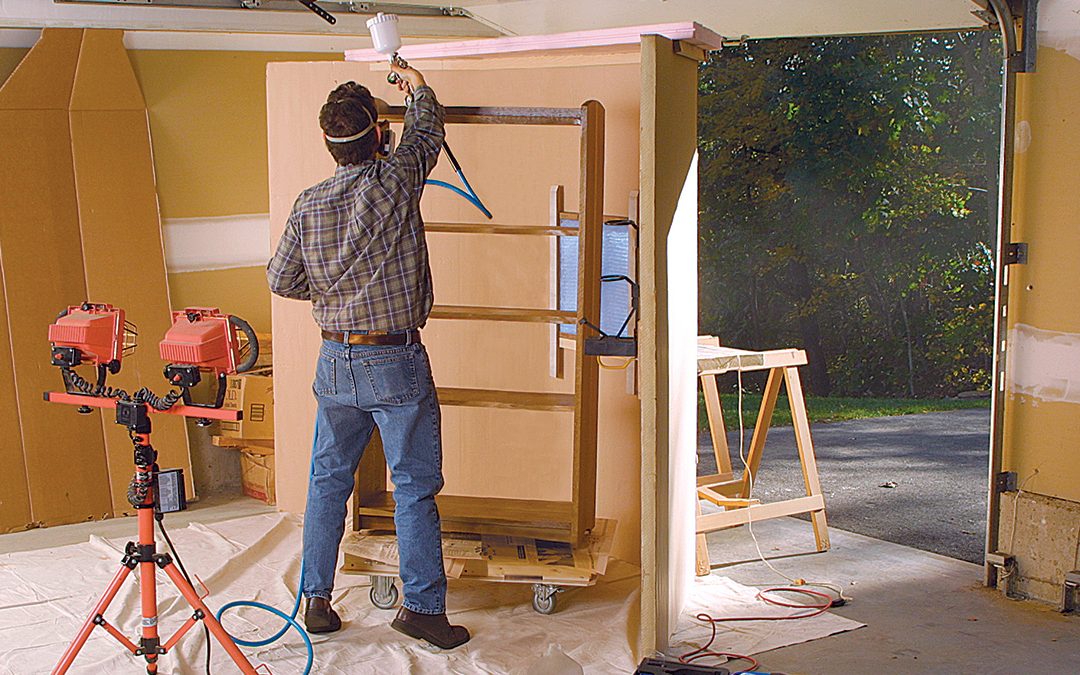
Building a paint booth for cabinets is an important step in achieving a professional-quality finish for your cabinets. A paint booth provides a controlled environment for painting, allowing you to apply the paint evenly and avoid dust and debris that can ruin the finish. Here are the steps you can follow to build a paint booth for cabinets.
Step 1: Determine the Size of the Booth
The first step in building a paint booth for cabinets is to determine the size you need. Measure the size of the largest cabinet you plan to paint and add at least two feet to each side. This will provide enough space for you to move around and work comfortably. Make sure to take into account any doors or drawers that may need to be painted separately.
Step 2: Choose a Location
Once you have determined the size of the booth, choose a location where you can build it. Ideally, the booth should be located in a well-ventilated area that is separate from the rest of your workspace. It should also be away from any sources of ignition, such as electrical outlets or gas lines.
Step 3: Build the Frame
The next step is to build the frame of the booth. You can use 2×4 lumber to create a simple frame that will support the walls and roof. Cut the lumber to the appropriate lengths and use screws to assemble the frame. Make sure that the frame is level and square before proceeding.
Step 4: Install the Walls
Once the frame is in place, you can install the walls. Use 1/2 inch plywood or particle board to create the walls. Cut the panels to size and attach them to the frame using screws. Make sure that the walls are level and square before proceeding.
Step 5: Install the Roof
After the walls are in place, you can install the roof. Use 1/2 inch plywood or particle board to create the roof. Cut the panels to size and attach them to the frame using screws. Make sure that the roof is level and square before proceeding.
Step 6: Install the Exhaust Fan
The next step is to install an exhaust fan. This will help to remove fumes and overspray from the booth. Choose a fan that is appropriately sized for your booth and install it in the wall opposite the entrance. Make sure to install a vent cover on the outside of the booth to prevent rain or debris from entering the booth.
Step 7: Install the Filter
Once the exhaust fan is in place, you can install a filter. This will help to capture overspray and dust before it leaves the booth. Choose a filter that is appropriate for your booth and install it in front of the exhaust fan.
Step 8: Install the Lighting
The final step is to install lighting. You will need to install enough lighting to illuminate the entire booth. Choose fluorescent or LED lights that are appropriate for the size of your booth and install them in the ceiling. Make sure to use waterproof fixtures to prevent any electrical hazards.
Conclusion
Building a paint booth for cabinets is a simple and effective way to achieve a professional-quality finish. By following these steps, you can create a controlled environment that will allow you to paint your cabinets evenly and without any dust or debris. Remember to choose a location that is well-ventilated and away from any sources of ignition, and to install an exhaust fan, filter, and lighting to complete the booth. With a little effort, you can create a paint booth that will serve you well for years to come.