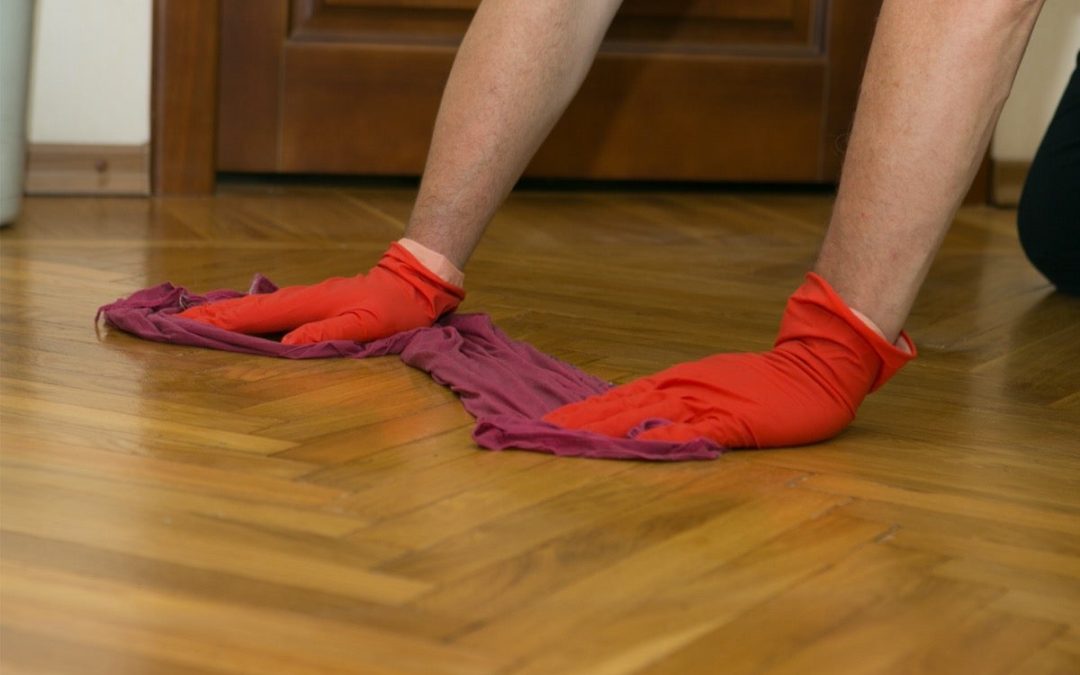
Cleaning dirt and debris from the grooves of hardwood floors can be a challenging task, but it’s important to maintain the beauty and longevity of your flooring. Dirt and debris that accumulate in the grooves of hardwood floors can scratch and damage the finish, as well as provide a breeding ground for bacteria and other harmful microorganisms. Here are some steps you can follow to effectively clean the grooves of your hardwood floors.
Step 1: Vacuum or Sweep the Floors
Before you start cleaning the grooves, it’s important to remove any loose dirt and debris from the surface of the floor. You can use a vacuum or broom and dustpan to sweep up the dirt. Make sure you use a brush attachment with your vacuum to avoid scratching the finish of your hardwood floors.
Step 2: Mix a Cleaning Solution
To clean the grooves of your hardwood floors, you’ll need to mix a cleaning solution that is safe for use on hardwood. You can make a simple cleaning solution by mixing equal parts water and white vinegar. Alternatively, you can use a commercially available hardwood floor cleaner that is specifically formulated for use on hardwood.
Step 3: Apply the Cleaning Solution
Once you have mixed your cleaning solution, use a soft cloth or sponge to apply it to the grooves of your hardwood floors. Avoid using too much solution, as excessive moisture can damage the wood. Instead, apply just enough solution to moisten the cloth or sponge and work it into the grooves.
Step 4: Scrub the Grooves
Using a soft-bristled brush, scrub the grooves of your hardwood floors to loosen and remove dirt and debris. Pay extra attention to areas that are especially dirty or have not been cleaned in a while. Scrub in a back-and-forth motion, and make sure to get into all the nooks and crannies.
Step 5: Wipe Up the Solution
Once you have finished scrubbing the grooves, use a clean, damp cloth or sponge to wipe up the cleaning solution. Make sure to rinse the cloth or sponge frequently in clean water to avoid spreading the dirt back into the grooves. Wipe the floors dry, and repeat the process if necessary until the grooves are clean.
Step 6: Dry the Floors
After you have finished wiping up the cleaning solution, it’s important to let your hardwood floors dry completely. You can use a clean cloth or towel to wipe up any excess moisture, or simply let the floors air-dry. Avoid walking on the floors or placing furniture on them until they are completely dry, as this can cause damage to the finish.
Step 7: Seal the Grooves
Once your hardwood floors are clean and dry, you may want to consider sealing the grooves to protect them from future dirt and debris buildup. You can use a hardwood floor sealant that is specifically formulated for use on hardwood. Simply apply a small amount of sealant to the grooves using a soft cloth or brush, and let it dry completely before walking on the floors.
In conclusion, cleaning the grooves of hardwood floors is a necessary task to maintain the beauty and longevity of your flooring. By following these simple steps, you can effectively remove dirt and debris from the grooves of your hardwood floors and protect them from future damage.

