")
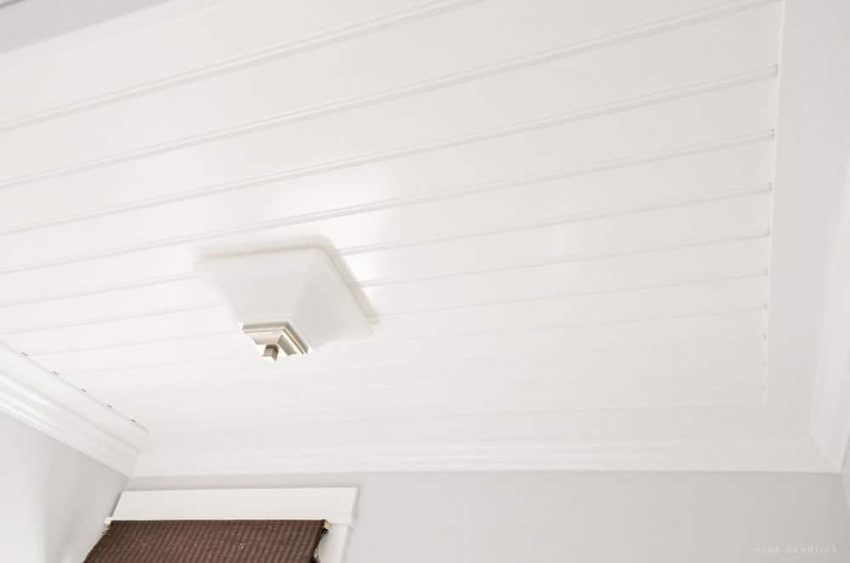
Installing a beadboard ceiling in your bathroom is a great way to add character and charm to the space. Beadboard is a type of wood paneling that features narrow grooves or “beads” between each board, creating a classic, timeless look. Installing beadboard on your ceiling can also help to cover up imperfections or damage, as well as provide a moisture-resistant surface in a high-humidity environment like a bathroom. In this article, we will guide you through the steps to install a beadboard ceiling in your bathroom.
Materials needed:
- Beadboard panels
- Measuring tape
- Circular saw or jigsaw
- Brad nailer or hammer and finishing nails
- Level
- Construction adhesive
- Caulk gun
- Paint or stain
- Paintbrush or roller
Step 1: Measure the ceiling
Before you begin, you need to measure the ceiling to determine how much beadboard you will need. Measure the length and width of the ceiling and multiply the two numbers to get the square footage. Be sure to subtract any areas where there are fixtures or openings, such as light fixtures or vents. Once you have the square footage, add 10% to the total to account for waste and cuts.
Step 2: Choose the beadboard panels
There are many types of beadboard panels available, including traditional wood, MDF, and PVC. Wood panels are the most authentic and can be stained or painted to match the existing decor. MDF and PVC panels are more affordable and moisture-resistant, but may not have the same natural look and feel as wood. Choose the type of panel that suits your budget and style preferences.
Step 3: Prep the ceiling
Before installing the beadboard, you need to prep the ceiling. Remove any existing ceiling tiles or panels and make sure the surface is clean and dry. If there are any imperfections or damage, you may need to patch or repair them before installing the beadboard.
Step 4: Cut the beadboard panels
Use a circular saw or jigsaw to cut the beadboard panels to the correct size. Measure each panel carefully and mark the cutting line with a pencil. Be sure to wear eye and ear protection when cutting the panels, and make sure the blade is set to the correct depth.
Step 5: Install the beadboard panels
Begin installing the beadboard panels by applying a construction adhesive to the back of each panel. Use a caulking gun to apply the adhesive in a zigzag pattern, making sure to leave space around the edges for expansion. Place the panel onto the ceiling and use a level to make sure it is straight. Secure the panel to the ceiling with a Brad nailer or hammer and finish nails, making sure to nail into the joists or furring strips.
Repeat this process for each panel, making sure to leave a small gap between each panel for expansion. Cut the last panel to fit, using a jigsaw or circular saw to make the necessary cuts. If there are any fixtures or openings in the ceiling, cut the panels to fit around them, leaving a small gap for expansion.
Step 6: Finish the edges
Once all the panels are installed, you need to finish the edges. You can use trim pieces or molding to cover the edges and create a finished look. Cut the trim pieces to size and nail them into place with a Brad nailer or hammer and finish nails.
Step 7: Fill the nail holes and caulk the seams
After the beadboard is installed and the edges are finished, you need to fill the nail holes and caulk the seams. Use wood filler or spackle to fill the nail holes and let it dry completely. Sand the surface smooth with sandpaper, then caulk the seams between the panels and the trim pieces with paintable caulk. Smooth the caulk with a caulk smoothing tool or your finger, then wipe away any excess with a damp cloth. Let the caulk dry completely.
Step 8: Paint or stain the beadboard
Finally, you can paint or stain the beadboard to match your bathroom decor. Choose a paint or stain that is appropriate for the type of beadboard you have installed. If you have chosen a natural wood beadboard, you may want to stain it to enhance the natural beauty of the wood. If you have chosen an MDF or PVC beadboard, you can paint it with high-quality paint that is designed for moisture-prone areas like bathrooms.
Apply the paint or stain with a paintbrush or roller, making sure to cover the entire surface evenly. Let the first coat dry completely, then apply a second coat if necessary. Be sure to follow the manufacturer’s instructions for drying and curing times.
In conclusion, installing a beadboard ceiling in your bathroom can be a relatively simple and affordable way to add character and charm to the space. With the right materials and tools, you can complete this project on a weekend and enjoy the timeless beauty of beadboard for years to come.