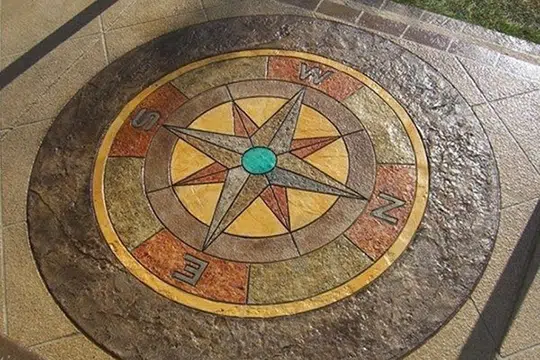
Installing a cobblestone-stamped concrete patio is a great way to add character and charm to your outdoor living space. Stamped concrete is a durable and low-maintenance alternative to natural stone, and with the right techniques and materials, you can achieve a beautiful and realistic cobblestone effect. Here’s how to install a cobblestone-stamped concrete patio in eight easy steps.
Step 1: Plan and Prep the Site
Before you start pouring concrete, you need to plan and prep the site. This involves measuring the area and determining the shape and size of your patio. Next, you’ll need to excavate the area to a depth of at least 4 inches, removing any grass, rocks, or other debris. Finally, you’ll need to install a base of gravel or crushed stone and compact it with a plate compactor to create a stable foundation for your patio.
Step 2: Build Forms and Set Rebar
Once the base is in place, you’ll need to build forms to contain the concrete. Use 2×4 lumber to create the perimeter of your patio, making sure that the forms are level and square. Next, set rebar or wire mesh inside the forms to reinforce the concrete and prevent cracking.
Step 3: Mix and Pour Concrete
Mix the concrete according to the manufacturer’s instructions, making sure that it has the right consistency and is free of lumps. Pour the concrete into the forms, using a screed board to level it and smooth out any bumps or ridges.
Step 4: Apply Release Agent
Before stamping the concrete, you’ll need to apply a release agent to prevent the stamps from sticking to the surface. Use a sprayer or roller to apply the release agent evenly over the entire surface of the concrete.
Step 5: Stamp the Concrete
Once the release agent is dry, it’s time to stamp the concrete. Use a cobblestone stamp to create a realistic pattern, pressing the stamp firmly into the concrete and making sure that each impression lines up with the others. Stamp the entire surface of the concrete, working in sections if necessary.
Step 6: Color the Concrete
To enhance the realism of the cobblestone pattern, you’ll need to add color to the concrete. There are a variety of color options available, including stains, dyes, and integral pigments. Choose a color that complements your home’s exterior and apply it evenly over the entire surface of the concrete.
Step 7: Seal the Concrete
Once the concrete is dry, it’s important to seal it to protect it from the elements and maintain its appearance. Use a high-quality concrete sealer, applying it evenly over the entire surface of the patio. Follow the manufacturer’s instructions and allow the sealer to dry completely before using the patio.
Step 8: Enjoy Your New Patio
With the concrete stamped, colored, and sealed, it’s time to enjoy your new cobblestone-stamped concrete patio. Add outdoor furniture, plants, and other decorative elements to create a welcoming and inviting outdoor space that you and your family can enjoy for years to come.
Final Thoughts
Installing a cobblestone-stamped concrete patio requires some planning, preparation, and attention to detail, but with the right techniques and materials, it’s a project that you can easily tackle yourself. Whether you’re looking to create a cozy outdoor living space or add value to your home, a cobblestone-stamped concrete patio is a great choice. So grab your tools, roll up your sleeves, and get ready to transform your backyard into a beautiful and functional outdoor oasis.

