")
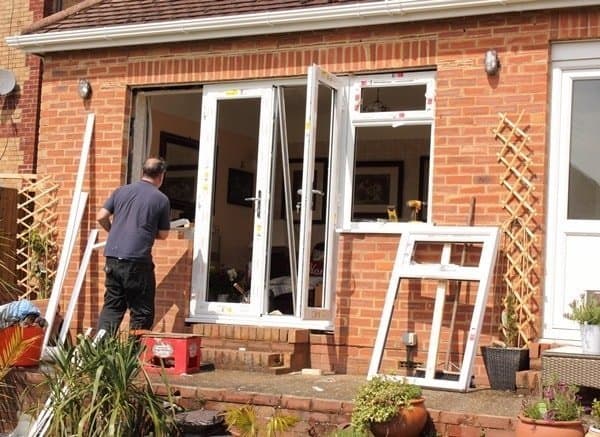
Installing a powder-coated window can seem like a daunting task, but with the right tools and some basic knowledge, it can be done relatively easily. Follow these steps to install a powder-coated window:
Step 1: Gather Tools and Materials
Before you begin, make sure you have all the necessary tools and materials. You’ll need a drill, screws, a level, measuring tape, caulking, and a pry bar. You’ll also need the powder-coated window itself and any additional hardware that comes with it, such as a sill or header.
Step 2: Prepare the Opening
Ensure that the opening where you’ll install the window is clean and free of any debris. Measure the width and height of the opening to ensure the window you have will fit correctly. Use the level to check that the opening is plumb and level. If the opening is not level, use shims to level it out.
Step 3: Apply Caulk
Apply a bead of caulk to the exterior of the opening where the window will sit. This will help to prevent any air or water leaks around the window.
Step 4: Place the Window in the Opening
With the help of an assistant, carefully place the window into the opening. Make sure it is centered and level. Use shims to hold the window in place, making sure they are placed evenly on both sides.
Step 5: Drill Pilot Holes
Once the window is in place, drill pilot holes through the mounting flange of the window and into the framing of the opening. Use the screws provided to attach the window to the framing. Make sure to only screw one corner of the window at a time and then check that the window is level before proceeding to the next corner. This will ensure that the window is installed correctly.
Step 6: Check for Proper Fit
After the window secure to the framing, check to make sure it opens and closes properly. If the window does not open or close correctly, you may need to make adjustments to the shims or screws.
Step 7: Apply Caulk
Once the window is securely in place and functioning properly, apply caulk around the interior and exterior edges of the window to prevent any air or water leaks.
Step 8: Install the Sill and Header
If your window came with a sill or header, now is the time to install them. Place the sill into position and secure it to the framing with screws. If the window has a header, install it in the same way.
Step 9: Finish the Trim
After the window fully installs, finish trim around the window. This will give the window a finished look and help to prevent any air or water leaks.
In conclusion, installing a powder-coat window is a straightforward process that can complete with a few basic tools and some basic knowledge. By following these steps, you can ensure that your window install correctly and will provide years of trouble-free use.