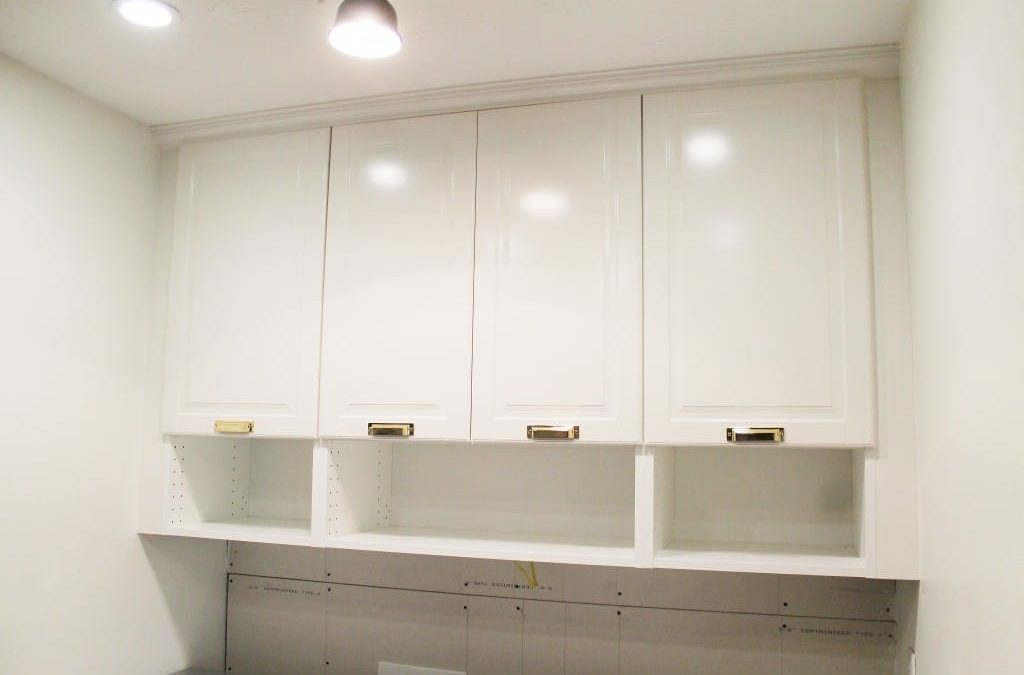
Applied molding is a decorative element that can enhance the appearance of cabinet doors. It is a type of molding that is applied to the face of a cabinet door to create a raised or recessed panel effect. Installing applied molding for cabinet doors is a simple process that can be done with a few tools and materials. In this guide, we will provide step-by-step instructions on how to install applied molding for cabinet doors.
Materials:
- Cabinet doors
- Applied molding
- Tape measure
- Pencil
- Saw
- Wood glue
- Brad nailer
- Sandpaper
- Paint or stain (optional)
Step 1: Measure the Cabinet Doors
Measure the width and height of each cabinet door. Use these measurements to determine how much molding you will need. Add an extra inch to each piece of molding to ensure a proper fit.
Step 2: Cut the Molding
Using a saw, cut the molding to the appropriate length for each cabinet door. Be sure to cut the ends of the molding at a 45-degree angle to create a miter joint.
Step 3: Sand the Molding
Using sandpaper, sand the edges and corners of the molding to create a smooth finish. This will help the molding fit flush against the cabinet door.
Step 4: Apply Wood Glue
Apply a small amount of wood glue to the back of the molding. Be sure to spread the glue evenly across the surface of the molding.
Step 5: Attach the Molding
Press the molding firmly onto the cabinet door, making sure that it is aligned properly. Use a Brad nailer to secure the molding in place. Place a nail every six inches or so along the length of the molding.
Step 6: Fill in Nail Holes
Using wood filler, fill in the nail holes on the molding. Allow the filler to dry according to the manufacturer’s instructions.
Step 7: Sand the Cabinet Doors
Using sandpaper, sand the entire cabinet door, including the molding. This will help create a smooth surface for painting or staining.
Step 8: Paint or Stain (optional)
If you wish to paint or stain the cabinet doors, now is the time to do so. Follow the manufacturer’s instructions for best results.
Tips:
- When cutting the molding, be sure to measure twice and cut once to avoid mistakes.
- Use a brad nailer with a small nail gauge to avoid splitting the wood.
- If the molding does not fit flush against the cabinet door, use sandpaper to smooth out any rough edges or corners.
In conclusion, installing applied molding for cabinet doors is a simple process that can enhance the appearance of your cabinets. Be sure to measure the cabinet doors accurately, cut the molding to the appropriate length, apply wood glue to the back of the molding, and use a brad nailer to secure it in place. Fill in any nail holes with wood filler, sand the cabinet doors, and then paint or stain them if desired. With a little bit of effort, you can transform your cabinets with applied molding and create a beautiful and unique look for your kitchen or bathroom.

