")
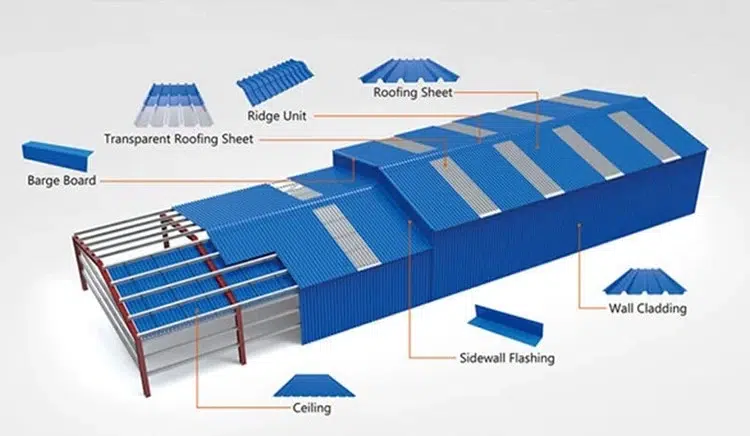
UPVC roofing sheets are a popular roofing material for both commercial and residential structures. They are lightweight, durable, and cost-effective, making them a great option for a wide range of roofing projects. Here’s a step-by-step guide on how to install UPVC roofing sheets:
Prepare the Roof Surface
The first step in installing UPVC roofing sheets is to prepare the roof surface. The roof surface should be clean and free of debris, and any old roofing material should be removed. If there are any holes or cracks in the roof surface, they should be filled with a patching compound.
Measure the Roof
Measure the length and width of the roof to determine the number of UPVC roofing sheets you’ll need. Make sure to add an extra six inches to the length of each sheet to allow for overhang.
Cut the Sheets
Using a circular saw with a fine-toothed blade, cut the UPVC roofing sheets to the appropriate length. Make sure to wear safety glasses and a dust mask when cutting the sheets to protect yourself from flying debris and dust.
Install the Ridge Cap
The ridge cap is the piece of UPVC roofing that covers the ridge of the roof. It install first to ensure that the roofing sheets aligned properly. The ridge cap should cut to the appropriate length and then screwed into place using stainless steel screws.
Install the First Row of Sheets
Starting at the bottom edge of the roof, install the first row of UPVC roofing sheets. Each sheet should screwed into place using stainless steel screws. Make sure to leave an overhang of at least six inches on each end of the sheet.
Install the Remaining Rows
Continue installing the UPVC roofing sheets, working your way up the roof. Each row should overlap the previous row by at least one inch. Use stainless steel screws to attach each sheet to the roof surface.
Install the Flashing
Flashing is use to seal the edges of the roof where it meets the walls or chimneys. Cut the flashing to the appropriate length and then install it along the edges of the roof using stainless steel screws. Make sure to overlap each piece of flashing by at least two inches.
Install the End Caps
The end caps are the pieces of UPVC roofing that cover the edges of the roof. They should cut to the appropriate length and then screwed into place using stainless steel screws.
Install the Screws
Make sure to install the screws in the pre-drilled holes in the UPVC roofing sheet. This will ensure that the sheets secured properly and won’t leak.
Finish the Job
Once all the UPVC roofing sheets are installed, it’s time to finish the job. Check all the screws to make sure they’re tightened properly, and apply a silicone sealant to any gaps or spaces between the sheets. This will help to prevent leaks and ensure that your UPVC roofing sheet last as long as possible.
In conclusion, installing UPVC roofing sheets is a relatively easy and straightforward process that can be done by DIYers with some basic tools and skills. By following these steps, you can ensure that your UPVC roofing sheet are installed correctly and will provide years of protection for your home or building.