")
Revamping your bathroom with wallpaper can transform the space from plain to picturesque. However, the bathroom’s unique conditions—humidity, temperature fluctuations, and exposure to water—demand careful consideration. Here’s a step-by-step guide on how to ensure your bathroom wallpaper installation is both beautiful and enduring.
1. Choose the Right Wallpaper
First and foremost, select a wallpaper that’s suitable for bathroom use. Look for vinyl or vinyl-coated wallpapers, as these materials are water-resistant and can withstand moisture. Avoid papers that are purely decorative and not moisture-resistant, as they can peel or bubble in a humid environment.
2. Prepare the Walls
Preparation is key to ensuring your wallpaper adheres properly and stays put. Start by removing any old wallpaper, nails, or adhesives from the walls. Next, clean the walls thoroughly to remove any dirt, grease, or mildew. Apply a primer specifically designed for use in bathrooms; this will help the wallpaper adhere better and make it easier to remove in the future.
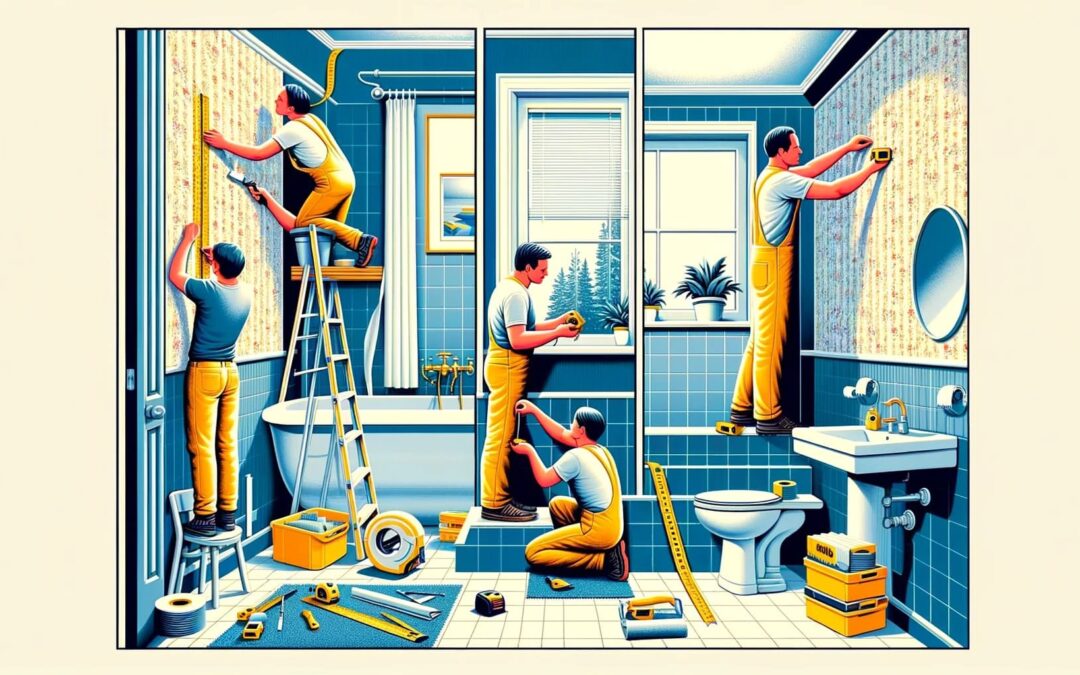
3. Measure and Cut
Measure your walls and cut the wallpaper to fit, allowing a few extra inches at the top and bottom for trimming. It’s wise to use a plumb line or level to ensure your first piece is perfectly straight, as this will set the alignment for the rest of the wallpaper.
4. Apply Adhesive
If your wallpaper isn’t pre-pasted, you’ll need to apply adhesive. Use a glue specifically formulated for bathroom wallpaper, as it will have mold and mildew inhibitors. For pre-pasted varieties, activate the glue by soaking the paper in water according to the manufacturer’s instructions.
5. Hang the Wallpaper
Start at your reference line and apply the wallpaper from the top down, smoothing it out as you go to prevent bubbles and wrinkles. Use a wallpaper brush or a plastic smoothing tool. Ensure each piece is aligned at the seams for a seamless look.
6. Smooth and Trim
Once the wallpaper is in place, press it firmly and smooth out any air bubbles. Use a sharp utility knife to trim the excess wallpaper at the top and bottom. Be gentle to avoid tearing the paper.
7. Seal the Edges
This step is crucial in a bathroom setting. Apply a thin line of clear silicone caulk along the edges where the wallpaper meets the trim and fixtures like sinks or bathtubs. This seals the edges and prevents moisture from getting behind the wallpaper.
8. Allow to Dry
Allow the wallpaper to dry completely, avoiding the use of the bathroom during this time if possible. Drying can take up to 48 hours, depending on the ventilation and the type of adhesive used.
9. Maintenance
To maintain the look and longevity of your wallpaper, clean it regularly with a damp cloth. Avoid using abrasive cleaners that can scratch or damage the surface.
By following these steps, you can ensure that your bathroom wallpaper installation is successful and lasts for years to come. Wallpaper in the bathroom offers a chance to showcase your style and adds a layer of sophistication to your personal retreat. Enjoy your beautifully wallpapered bathroom!