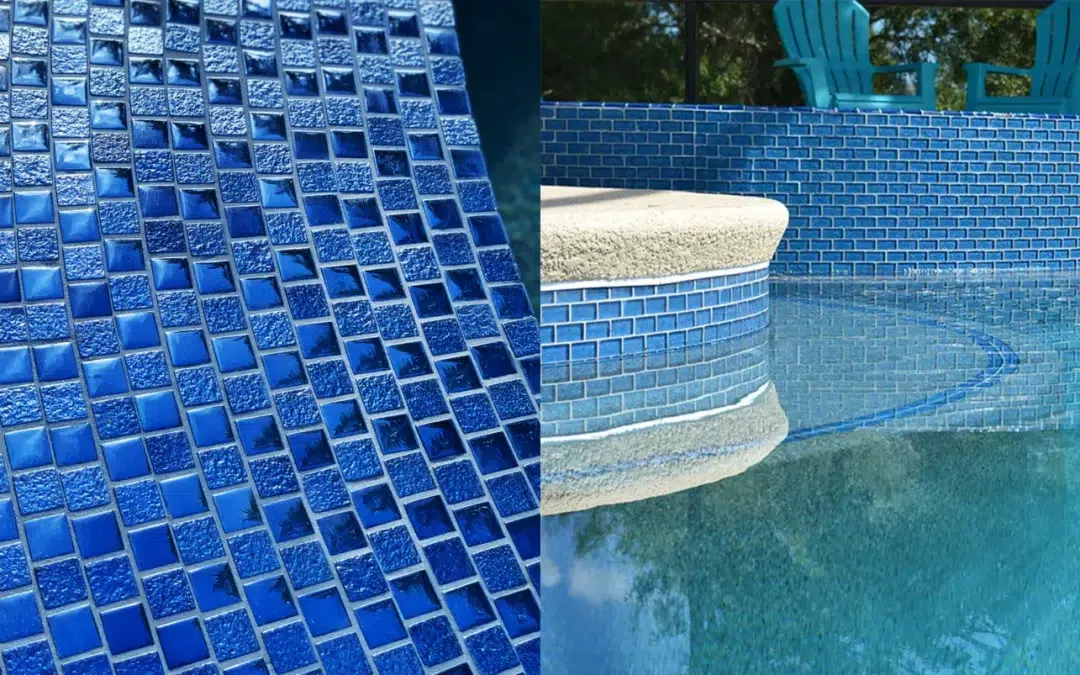
Over time, the grout between your pool tiles can become cracked, stained, or worn away, leaving your pool looking dingy and unappealing. regrouting your pool tile is a relatively simple DIY project that can make a big difference in the appearance of your pool. In this article, we’ll walk you through the steps of how to re-grout pool tile.
Materials Needed:
Grout removal tool
Saw Grout
Grout float
Grout
Bucket
Sponge
Grout sealer
Step 1: Remove the old grout
The first step in re-grouting pool tile is to remove the old grout. Use a grout removal tool or a grout saw to carefully remove the old grout between the tiles. Be careful not to damage the tiles themselves, and avoid using power tools that could damage the tiles or crack the grout.
Step 2: Clean the tile and grout lines
Once you have removed the old grout, use a sponge and clean water to thoroughly clean the tiles and grout lines. Make sure that all debris and dust are removed from the area, as this can interfere with the adhesion of the new grout.
Step 3: Mix the grout
Mix the grout according to the manufacturer’s instructions in a clean bucket. Be sure to mix only as much grout as you will need for the job, as grout can dry out quickly and become difficult to work with.
Step 4: Apply the grout
Using a grout float, apply the grout to the grout lines between the tiles. Make sure to press the grout firmly into the gaps to ensure a good seal. Be careful not to get grout on the face of the tiles, as it can be difficult to remove once it has dried.
Step 5: Clean the excess grout
After you have applied the grout, use a damp sponge to clean the excess grout from the surface of the tiles. Be sure to rinse the sponge frequently to avoid spreading grout over the surface of the tiles. Allow the grout to dry completely before moving on to the next step.
Step 6: Seal the grout
Once the grout has dried, it is important to seal it to protect it from stains and water damage. Apply a grout sealer according to the manufacturer’s instructions, using a brush or roller. Be sure to apply the sealer only to the grout lines, and avoid getting it on the surface of the tiles.
Step 7: Final cleaning
After the sealer has dried, use a clean, damp sponge to clean any remaining haze or residue from the tiles. Be sure to rinse the sponge frequently to avoid spreading grout over the surface of the tiles.
In conclusion
regrouting pool tile is a relatively simple DIY project that can make a big difference in the appearance of your pool. By following these steps, you can re-grout your pool tile and enjoy a clean, attractive pool once again. With proper maintenance and care, your re-grouted pool tile can last for years to come.

