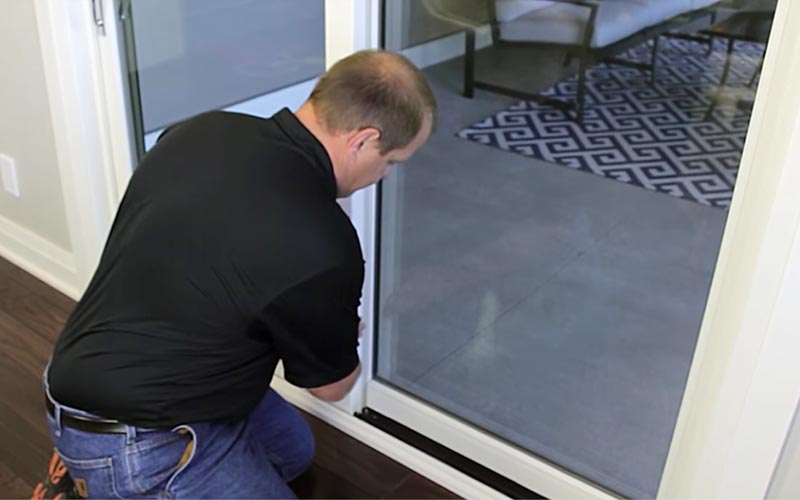
Removing a fixed panel from a sliding glass door is an essential part of many home renovation projects. Whether you are replacing the fixed panel with a new one, cleaning or repairing the door, or simply want to take the panel out to let some fresh air into your home, it’s essential to know how to remove the fixed panel safely and effectively. Here’s a step-by-step guide to help you do just that.
Step 1: Gather the Necessary Tools
Before you start the process of removing the fixed panel from your sliding glass door, you’ll need to gather the necessary tools. Here’s a list of what you’ll need:
Safety glasses
Work gloves
Pry bar
Flathead screwdriver
Power drill
Phillips head screwdriver
Rubber mallet or hammer with a block of wood
Step 2: Remove the Screen Door
The first step in removing a fixed panel from a sliding glass door is to remove the screen door (if you have one). This will give you access to the fixed panel and make it easier to work with. To remove the screen door, simply slide it open, lift it up, and then remove it from the track.
Step 3: Remove the Trim
The fixed panel of a sliding glass door is usually held in place by a series of trim pieces. These trim pieces design to cover the edges of the panel and hold it securely in place. To remove the fixed panel, you’ll need to remove these trim pieces first.
To do this, use a pry bar or flathead screwdriver to gently pry the trim pieces away from the door frame. Be careful not to damage the trim pieces as you remove them. If the trim is stubborn, you may need to use a small pry bar to get it start.
Step 4: Remove the Screws
With the trim removed, you should be able to see the screws that are holding the fixed panel in place. Use a power drill or a Phillips head screwdriver to remove these screws. Make sure to keep track of the screws so you can replace them later.
If you’re having trouble finding the screws, look for any small plugs or caps that cover the screw holes. These will need to be remov before you can access the screws.
Step 5: Remove the Fixed Panel
Once you’ve removed all the screws, you should be able to lift the fixed panel out of the track. If the panel is stuck, use a rubber mallet or hammer with a block of wood to gently tap the panel to loosen it. Be careful not to damage the panel as you do this.
If the panel still stuck, it may be secur by other means, such as caulking or adhesive. In this case, you may need to cut through the caulking or adhesive with a utility knife to release the panel.
Step 6: Clean the Area
With the fixed panel removed, take the time to clean the track or channel thoroughly. This will help ensure that the sliding panel moves smoothly and easily. Use a stiff brush to remove any debris or dirt, and then wipe the track down with a damp cloth.
Step 7: Replace the Fixed Panel
If you need to replace the fixed panel, simply follow the steps in reverse. Make sure that the panel is aligned correctly and that all the screws are tightened securely. Be sure to replace the trim pieces and any plugs or caps that cover the screw holes.
Tips for Removing a Fixed Panel from a Sliding Glass Door
Wear safety glasses and work gloves to protect your eyes and hands from debris and sharp edges.
If the fixed panel is stuck, don’t force it. Use a rubber mallet or hammer with a block of wood to gently tap the panel to loosen it.

