")
Removing a sliding wooden door can be a tricky task, but with the right tools and knowledge, it can be accomplished fairly easily. In this guide, I will explain the steps you need to take to remove a sliding wooden door.
Tools and materials you will need:
Screwdriver
Hammer
Pliers
Putty knife
Crowbar
Masking tape
Utility knife
Carpenter’s level
Step stool or ladder
Old newspapers or drop cloth
Plastic sheeting or tarpaulin
Storage box or container
Step 1: Prepare the work area
Before you start removing the sliding wooden door, you need to prepare the work area. Cover the surrounding floor with old newspapers or a drop cloth to protect it from scratches or dirt. If the door is located inside the house, cover nearby furniture and walls with plastic sheeting or tarpaulin to prevent them from getting damaged. Also, ensure you have enough space to move the door safely without hitting anything.
Step 2: Remove the stopper or door guide
The first thing you need to do is to remove the stopper or door guide at the bottom of the sliding door. The stopper keeps the door in place while the guide helps the door to slide smoothly. Use a screwdriver to remove the screws that hold the stopper or guide in place. If the screws are rusted or damaged, use pliers to twist them out. Set the screws aside in a container or storage box so that you don’t lose them.
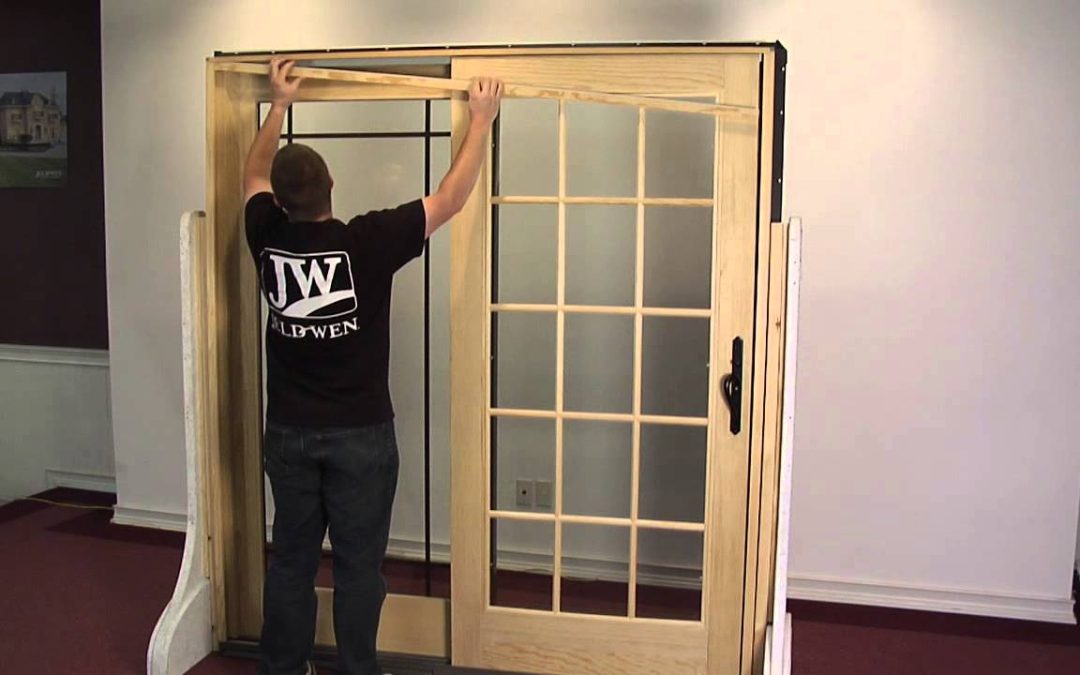
Step 3: Remove the sliding door
Once you have removed the stopper or guide, you need to lift the sliding door off its track. To do this, first, locate the screws that hold the door in place at the top of the frame. These screws are usually concealed by a cover plate, which you can remove by gently prying it off with a putty knife or a crowbar. If you can’t see the screws, use a utility knife to cut away any paint or caulk that may be hiding them.
Once you have located the screws, use a screwdriver to remove them. If the screws are difficult to turn, use pliers to grip them and turn them counterclockwise. Be sure to hold the door securely as you remove the screws, as it can be quite heavy. Once you have removed the screws, gently lower the door onto the floor or onto a set of sawhorses.
Step 4: Clean the tracks
Now that you have removed the sliding door, it’s a good time to clean the tracks. Use a vacuum cleaner or a broom to remove any dust, dirt, or debris that may have accumulated in the tracks. You can also use a damp cloth to wipe away any stubborn grime or stains.
Step 5: Inspect the tracks
While you are cleaning the tracks, take a moment to inspect them for any signs of wear or damage. If the tracks are worn or bent, the door may not slide smoothly or may become stuck. If you notice any damage, consider replacing the tracks or repairing them before reinstalling the door.
Step 6: Reinstall the door
To reinstall the sliding door, follow the steps in reverse order. First, lift the door onto the tracks and position it so that the top edge of the door is level with the top of the frame. Use a carpenter’s level to ensure that the door is perfectly level. Once you have positioned the door, insert the screws into the holes at the top of the frame and tighten them with a screwdriver.
Next, reattach the stopper or guide to the bottom of the door. Position the stopper or guide so that it lines up with the track and screw it back into place with the screwdriver. Again, make sure the stopper or guide is level and in the correct position before tightening the screws.
Step 7: Test the door
Once you have reinstalled the door, test it to make sure it slides smoothly and doesn’t stick. Open and close the door several times to ensure that it moves freely along the track. If you notice any problems, such as the door sticking or making unusual noises, you may need to adjust the position of the door or the tracks.
Step 8: Clean up
Finally, clean up the work area by removing any tools, materials, or debris. Discard any old newspapers or drop cloth used to protect the floor. If you used plastic sheeting or tarpaulin to protect nearby furniture or walls, remove them carefully to avoid damaging anything.
In conclusion, removing a sliding wooden door may seem like a daunting task, but it can be accomplished with the right tools and know-how. By following the steps outlined above, you can safely and easily remove a sliding wooden door and prepare it for repair or replacement. Remember to take your time, be careful, and stay organized to make the process as smooth and stress-free as possible.