")
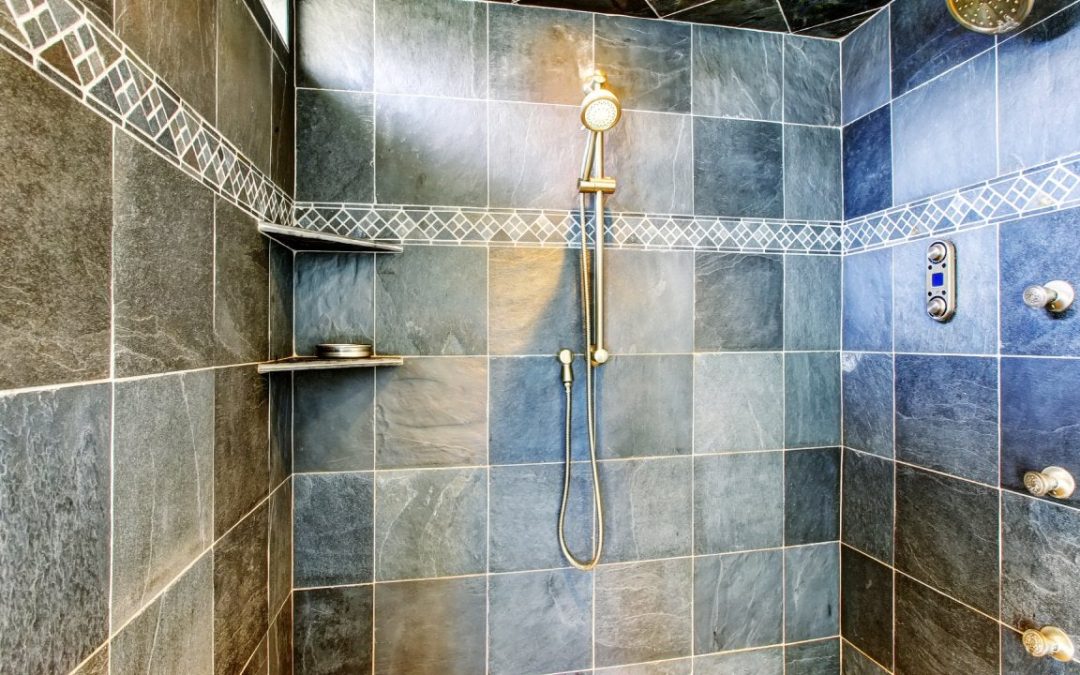
Installing a tile shower in a mobile home can be a challenging but rewarding DIY project. Mobile homes often have smaller spaces and unique construction requirements, but with the right tools and techniques, you can create a beautiful and functional tile shower that will last for years to come. In this article, we’ll walk you through the steps of how to install a tile shower in a mobile home. Choosing the best tile for your mudroom involves a careful balance of durability, style, and functionality.
Materials Needed:
Tile
Spacers Tile
Tile adhesive
Notched trowel
Grout
Grout float
Sealer
Backer board
Waterproofing membrane
Waterproofing tape
Screws
Saw
Drill
Utility knife
Step 1: Plan the layout and design
Before you begin your tile shower installation, you should plan out the layout and design of your shower. Determine the size and shape of your shower, as well as the type and color of tile you want to use. You should also consider any special features, such as built-in shelves or niches, and plan their placement accordingly.
Step 2: Prepare the shower area
Before you can install the tile, you need to prepare the shower area. Start by removing any existing tile or shower materials. If necessary, repair any damage to the walls or floor of the shower area. Next, install a backer board on the walls and floor of the shower area. Make sure to use screws to secure the backer board to the studs in the wall or floor.
Step 3: Apply the waterproofing membrane
To prevent water damage, you should apply a waterproofing membrane to the backer board. Use a paint roller to apply the waterproofing membrane to the entire surface of the backer board. Be sure to follow the manufacturer’s instructions carefully, as the application process may vary depending on the product.
Step 4: Apply waterproofing tape
Next, apply waterproofing tape to all of the seams and corners in the shower area. This will provide an additional layer of protection against water damage. Use a utility knife to cut the tape to the appropriate length, and press it firmly into place.
Step 5: Install the tile
Once the waterproofing membrane and tape have dried, you can begin installing the tile. Use a notched trowel to apply tile adhesive to the backer board in small sections. Place tile spacers between each tile to ensure a consistent gap. Be sure to work quickly, as the adhesive can dry out fast.
Step 6: Cut the tile
When you reach the edges of the shower area or any obstacles, such as pipes or fixtures, you will need to cut the tile to fit. Use a saw to make precise cuts, and be sure to wear safety glasses and gloves to protect yourself.
Step 7: Grout the tile
After the tile adhesive has dried, remove the tile spacers and use a grout float to apply grout between the tiles. Be sure to remove any excess grout from the surface of the tile with a damp sponge. Allow the grout to dry completely before moving on to the next step.
Step 8: Seal the grout
Once the grout has dried, apply a sealer to the grout lines to protect against stains and moisture. Be sure to follow the manufacturer’s instructions carefully, and allow the sealer to dry completely before using the shower.
In conclusion,
Installing a tile shower in a mobile home can be a challenging but rewarding DIY project. With the right tools and techniques, you can create a beautiful and functional tile shower that will last for years to come. By following these steps, you can install a tile shower in your mobile home and enjoy the comfort and convenience of a luxurious shower experience.