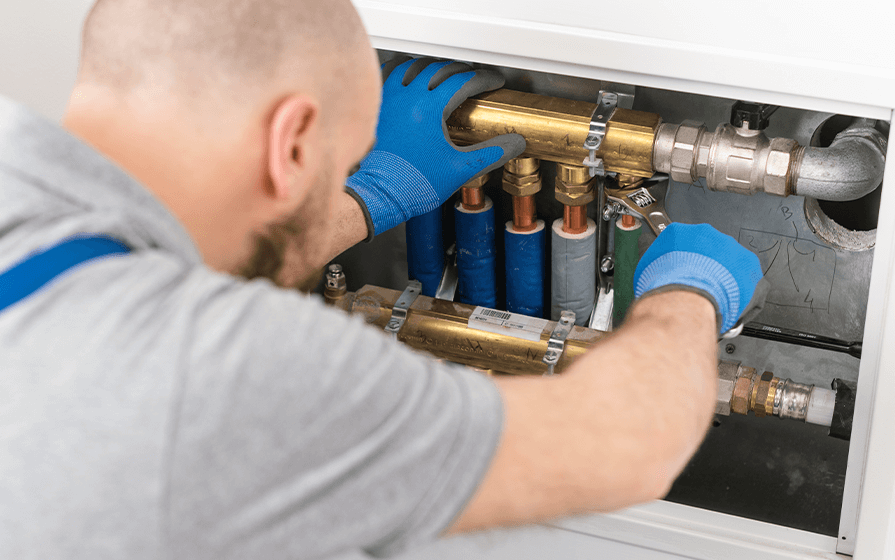
Rough plumbing is a crucial step in new construction projects that involves the initial installation of plumbing pipes and fixtures before the walls and floors are finished. This guide offers a comprehensive overview of the rough plumbing process involved in new construction.
Plan and Design
The first step in rough plumbing is to carefully plan and design the plumbing system. Consider the overall design and arrangement of the building, along with the specific functions and purposes assigned to each room. Additionally, ensure compliance with local building codes and regulations that govern plumbing installations. Identify the appropriate positions for fixtures, including sinks, toilets, showers, and appliances. Plan the routing of pipes to ensure optimal functionality and efficiency.
Obtain Permits
Prior to commencing any plumbing work, it is crucial to acquire the required permits from the local authorities. These permits ensure that the plumbing installation complies with safety and building standards. Contact the local building department to understand the permit requirements and submit the necessary documents.
Install Water Supply Lines
Begin by installing the main water supply line, which is usually connected to the municipal water supply or a well. This line should be of appropriate size to meet the water demands of the building. Extend the main line into the building and connect it to a water meter, if required by local regulations. From the main line, branch out to individual fixtures and appliances, using smaller pipes of suitable diameters.
Install Drainage and Vent Pipes
After the water supply lines are in place, focus on the installation of drainage and vent pipes. Drainage pipes carry wastewater and sewage away from the building, while vent pipes allow air to enter the system and prevent suction or pressure issues. Install pipes with the appropriate slope to ensure proper drainage and connect them to the appropriate disposal system, such as a public sewer or septic tank.
Install Fixtures and Appliances
After the completion of the installation of the water supply and drainage systems, you can proceed with the installation of plumbing fixtures and appliances. Start with showers, bathtubs, sinks, toilets, and any other relevant fixtures in the appropriate order. Connect them to the corresponding water supply and drainage pipes. Ensure proper sealing and secure connections to prevent leaks. Connect household appliances, such as washing machines and dishwashers, to the water supply lines and drainage system according to the instructions provided by the manufacturer, and proper installation.
Test the Plumbing System
After completing the rough plumbing installation, it is crucial to test the system for any leaks or issues. Close all fixtures and turn on the main water supply. Check for any visible leaks or signs of water leakage. Also, check for proper drainage by running water in sinks, showers, and toilets. Ensure that the venting system is functioning correctly and there are no blockages or restrictions.
Inspections and Finalize Connections
Schedule inspections with the local building department to verify compliance with the building codes and regulations. Once the inspections are complete and approved, make the necessary adjustments or corrections if required. Finalize all connections, including installing shut-off valves and access panels for future maintenance and repairs.
Complete Documentation
Keep a detailed record of the rough plumbing installation, including plans, permits, inspection reports, and any modifications made during the process. This documentation is important for future reference, maintenance, and potential resale of the property.
In conclusion
Rough plumbing is a critical step in new construction projects. By following the guide, you can ensure a well-planned and properly installed plumbing system for your new building. Remember to consult with licensed plumbers, and adhere to local building codes, and necessary inspections to ensure a safe and efficient plumbing system.

