")
Sand concrete flooring is a popular option for many homes and businesses due to its durability and affordability. The sand provides strength and stability to the concrete, making it more resistant to wear and tear than traditional concrete floors. Sand concrete floors are also easy to maintain, making them an ideal choice for high-traffic areas.
If you’re considering sand concrete flooring for your home or business, there are several things to keep in mind to ensure that your project is successful.
- Prepare the Surface
Before you begin laying your sand concrete floor, it’s important to prepare the surface properly. This includes removing any existing flooring, cleaning the surface thoroughly, and ensuring that it’s level.
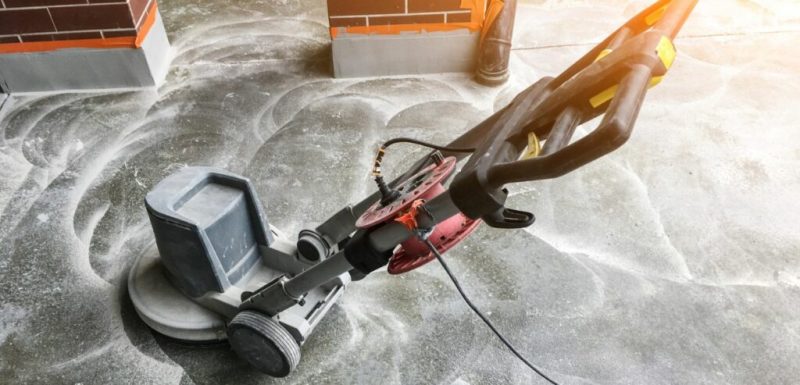
To remove existing flooring, you may need to use a scraper or sander. You’ll also want to clean the surface with a pressure washer or scrub brush and a mild detergent to remove any dirt or debris. Once the surface is clean, you’ll need to level it using a self-leveling compound or a floor grinder.
- Choose the Right Sand and Concrete Mix
Choosing the right sand and concrete mix is critical for the success of your sand concrete flooring project. The sand should be fine-grained and well-washed, with no impurities or organic matter. The concrete mix should be a standard mix with a compressive strength of at least 2500 psi.
You may also want to add a bonding agent to the mix to help the sand and concrete adhere to each other. This will ensure that your sand concrete floor is strong and durable.
- Lay the Sand and Concrete Mix
Once you have your sand and concrete mix prepared, it’s time to start laying the floor. Begin by pouring a thin layer of the mix onto the prepared surface, and spreading it evenly with a trowel. Continue adding layers of the mix until you reach your desired thickness.
Be sure to use a screed board to level the surface as you go, and use a bull float to smooth out any bumps or rough spots. You may also want to use a power trowel to achieve a smooth, even finish.
- Allow the Floor to Cure
After you’ve laid your sand concrete floor, it’s important to allow it to cure properly. This will help the concrete to harden and become more durable.
The curing process can take anywhere from a few days to a few weeks, depending on the thickness of the floor and the weather conditions. Be sure to keep the floor moist during this time by spraying it with water regularly.
Apply a Sealer
Once your sand concrete floor is fully cured, you can apply a sealer to protect it from damage and wear. There are several types of sealers available, including acrylic, epoxy, and polyurethane.
Acrylic sealers are easy to apply and are ideal for indoor use. They provide a clear, glossy finish that enhances the natural color of the sand and concrete. Epoxy sealers are more durable and ideal for high-traffic areas. They provide a thick, protective coating that can withstand heavy foot traffic and spills.
Polyurethane sealers are the most durable of all and are ideal for industrial settings. They provide a thick, chemical-resistant coating that can withstand harsh chemicals and heavy machinery.
Maintain Your Sand Concrete Floor
To keep your sand concrete floor looking its best, it’s important to maintain it properly. This includes sweeping and mopping regularly to remove dirt and debris, as well as applying a new coat of sealer every few years to protect the surface.
You should also avoid using harsh cleaning chemicals or abrasive scrubbers on your sand concrete floor, as these can damage the surface and shorten its lifespan.
In conclusion, sand concrete flooring is an excellent option for anyone looking for a durable, affordable, and easy-to-maintain flooring solution.