")
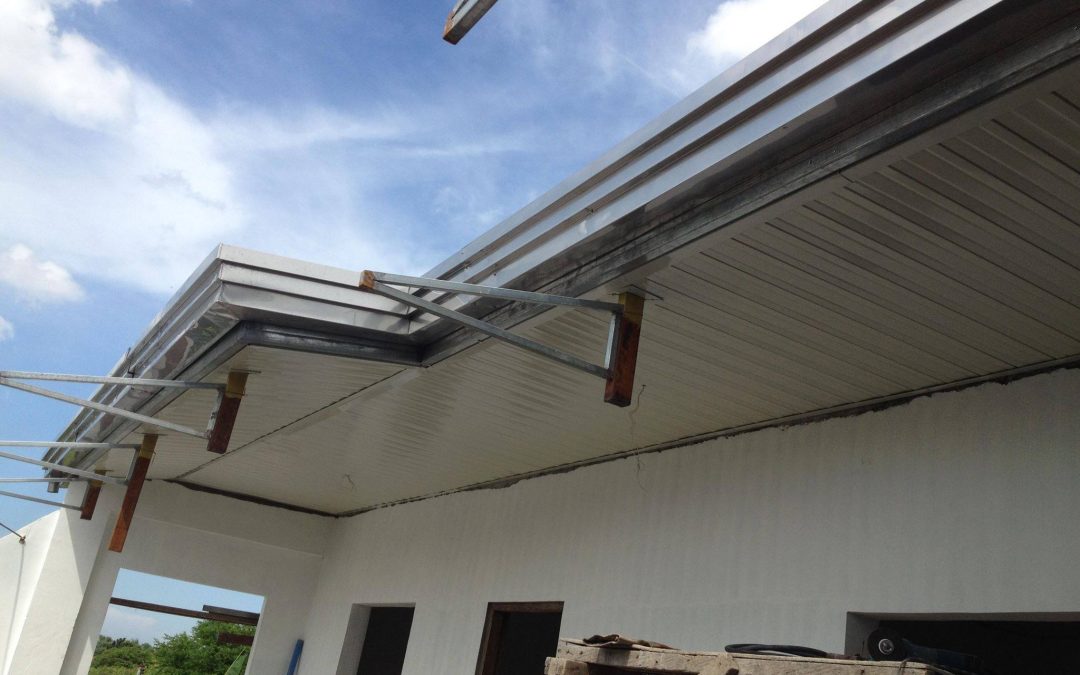
A spandrel ceiling is a type of suspended that hides the underside of a building’s structural elements. It is often used in commercial buildings, such as offices, retail stores, and hotels, to create a clean and finished look. A spandrel ceiling can also help with sound control and air circulation. In this article, we will discuss the process of installing.
Materials and Tools Required:
Spandrel ceiling panels
Metal grid system
Hanger wire
Screws
Measuring tape
Level
Hammer
Screwdriver
Drill
Step 1: Measure the Ceiling
Before installing the, measure the ceiling to determine the amount of material needed. This will help you determine the number of ceiling panels and the length of the metal grid system required.
Step 2: Install the Metal Grid System
Install the metal grid system, which consists of a series of metal runners that are suspended from the ceiling by hanger wires. The grid system should be installed in a grid pattern that is consistent with the size of the ceiling panels. Start by installing the main runners, which are the longest runners that run parallel to the length of the room. Attach the main runners to the hanger wires and ensure that they are level. Then, install the cross runners, which run perpendicular to the main runners, and attach them to the main runners.
Step 3: Install the Spandrel Ceiling Panels
Once the metal grid system is in place, install the panels. Begin at one corner of the room and work your way across the ceiling. Place the panels into the grid and ensure that they are secure. Some panels may need to be cut to fit around the edges of the room or to accommodate light fixtures or other obstacles. To cut the panels, measure and mark the panels. Where they need to be cut, and then use a saw to cut the panel to the desired size.
Step 4: Attach the Spandrel Ceiling Panels to the Grid
After the panels are in place, use screws to attach the panels to the grid system. The screws should be installed along the edges of the panels and at the intersection of the panels and the metal grid system.
Step 5: Finish the Edges of the Spandrel Ceiling
Once the spandrel ceiling panels install, finish the edges of the ceiling. This can be done by installing trim along the edges of the ceiling or by painting the edges of the ceiling to match the rest of the ceiling.
Tips and Precautions:
When installing the metal grid system, ensure that it is level. A level ceiling will make the installation of the spandrel ceiling panels easier and will provide a better-finished look.
Be sure to wear safety goggles and gloves when installing the spandrel ceiling panels to protect yourself from any sharp edges.
When cutting the spandrel ceiling panels, ensure that you are using the correct saw and blade for the material. This will help prevent damage to the panel and ensure a clean cut.
Check local building codes and regulations to ensure that your spandrel ceiling installation meets all requirements.
In conclusion, installing a spandrel ceiling can be a great way to improve the look and functionality of a commercial building. By following these steps and taking the necessary precautions, you can create a clean and finished look that can help with sound control and air circulation. Be sure to measure the ceiling, install the metal grid system, and attach the spandrel ceiling panels to the grid. Finish the edges of the ceiling and take any necessary steps to ensure that your installation meets local building codes and regulations.