")
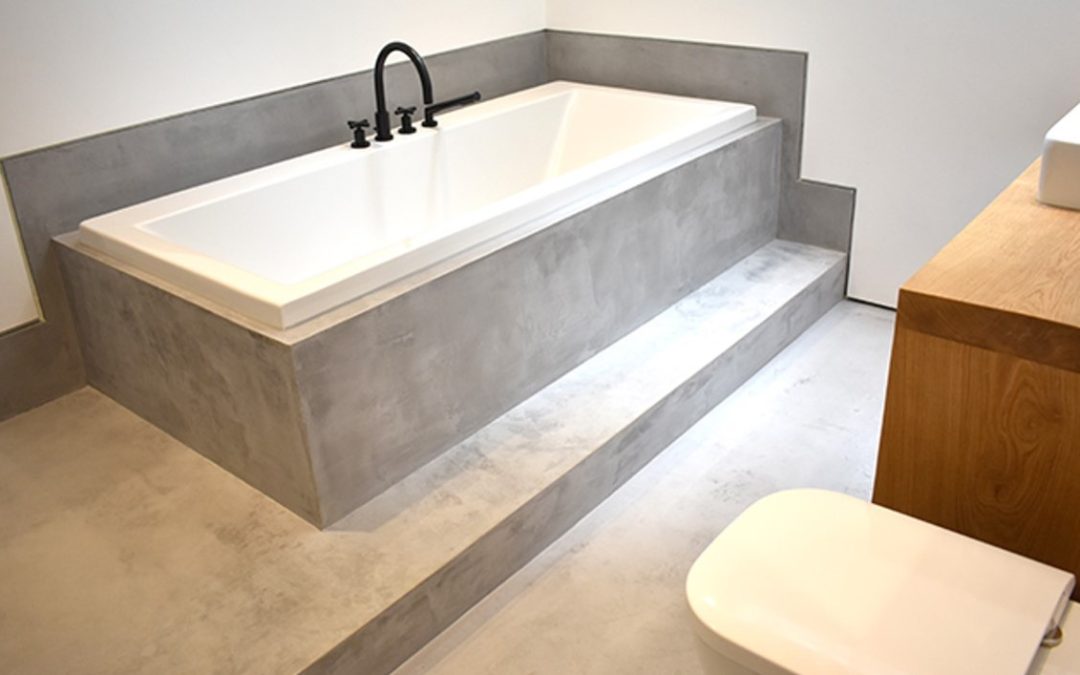
If you’re looking for a durable and stylish bathroom surface that is easy to maintain, microtopping may be the perfect choice. Microtopping is a thin layer of cement-based material that can be applied directly over existing surfaces such as concrete, tile, or wood. In this guide, we will provide step-by-step instructions for installing a microtopping bathroom.
Materials Needed:
- Microtopping material
- Mixing paddle and drill
- Trowel
- Sanding tool
- Concrete sealer
- Paintbrush or roller
- Tape
- Plastic sheeting
- Gloves, goggles, and mask
- Cleaning supplies
Step 1: Prepare the Surface
Before you can apply microtopping to your bathroom, you will need to prepare the surface. Start by cleaning the surface thoroughly to remove any dirt, dust, or debris. If you are applying microtopping over tile or other smooth surfaces, you may need to sand the surface to create a rough texture that will allow the microtopping to adhere properly.
Next, use painter’s tape and plastic sheeting to protect any areas that you do not want to cover with microtopping, such as fixtures or baseboards.
Step 2: Mix the Microtopping
Mix the microtopping material according to the manufacturer’s instructions. This typically involves adding water to the dry mix and stirring with a mixing paddle until the mixture is smooth and free of lumps.
Step 3: Apply the Microtopping
Using a trowel, apply the microtopping to the bathroom surface in thin, even layers. Start in one corner and work your way across the surface, smoothing out the microtopping as you go. Be sure to apply the microtopping in small sections to ensure that it remains workable.
Once you have applied the first layer of microtopping, allow it to dry for several hours before applying the second layer. You may need to apply several layers of microtopping to achieve the desired thickness and texture.
Step 4: Sand the Microtopping
After the microtopping has dried, use a sanding tool to smooth out any rough spots or uneven areas. Sanding will also help to create a smooth and uniform texture across the surface of the microtopping.
Step 5: Seal the Microtopping
Once the microtopping has been sanded, it’s time to apply a concrete sealer to protect the surface and enhance its appearance. Choose a sealer that is appropriate for use on microtopping and apply it according to the manufacturer’s instructions. This typically involves using a paintbrush or roller to apply the sealer in thin, even layers.
Step 6: Maintain the Microtopping
To keep your microtopping bathroom looking great, it’s important to follow a few simple maintenance tips:
Clean Regularly
Regular cleaning is essential to maintaining the appearance and durability of microtopping. To clean your microtopping bathroom, simply wipe down the surface with a soft cloth or mop and a mild detergent.
Avoid Harsh Chemicals
Avoid using harsh chemicals or abrasive cleaners on your microtopping, as these can damage the surface and reduce its lifespan. Instead, use mild cleaning solutions and a soft cloth or mop.
Address Stains Promptly
If you notice any stains or discoloration on your microtopping, be sure to address them promptly. Depending on the type of stain, you may be able to remove it with a mild cleaning solution or a specialized stain remover.
Seal Periodically
To ensure that your microtopping remains waterproof and stain-resistant, it’s important to seal it periodically. The frequency of sealing will depend on the type of sealer used, but most sealers will need to be reapplied every 1-3 years.
Avoid Sharp Objects
While microtopping is durable, it can still be damaged by sharp objects such as knives or scissors. To prevent scratches or gouges, avoid using sharp objects directly on the surface of your microtopping bathroom.
Conclusion:
Installing a microtopping bathroom is a great way to create a stylish and durable surface that is easy to maintain. By following these simple steps, you can achieve a beautiful and long-lasting microtopping bathroom that will enhance the overall look and functionality of your home.