")
Revamping the look of a room often involves updating or changing wall tiles. However, the thought of removing tiles can be intimidating, especially if you want to preserve the integrity of the underlying plasterboard. In this article, we’ll explore step-by-step methods to delicately remove wall tiles without causing damage to the plasterboard beneath.
Gather Your Tools and Materials
Before embarking on the tile removal process, ensure you have the necessary tools and materials. You’ll need safety equipment like gloves and safety glasses, as well as a few tools such as a hammer, chisel, and a scraper. Additionally, a utility knife and a pry bar will be essential for the task.
Assess the Tile Adhesive
Understanding the type of adhesive used to attach the tiles is crucial. Tiles are commonly affixed to walls using thin-set mortar or mastic. Each adhesive type requires a slightly different approach to removal. You can often identify the adhesive by examining a removed tile or consulting the original installation documentation.
Begin by Removing Grout
Start by removing the grout surrounding the tiles. Use a grout saw or a rotary tool with a grout removal bit to carefully cut through the grout lines. This step is essential, as it weakens the bond between the tiles and the adhesive, making the tile removal process more manageable.
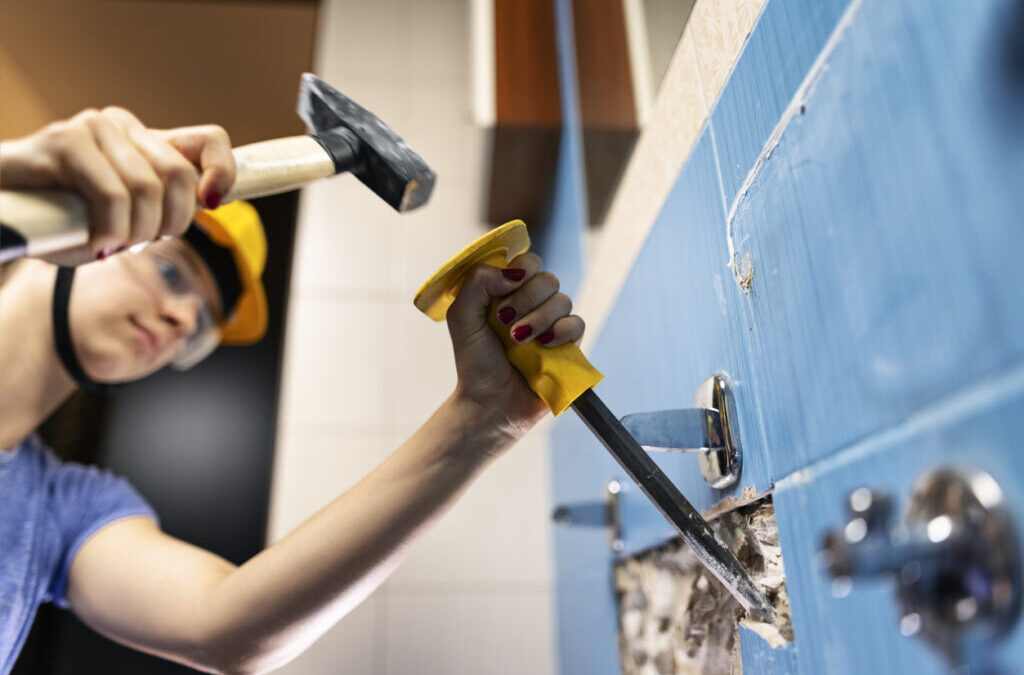
Loosen the Tiles
Once the grout is removed, gently tap the center of a tile with a hammer and chisel to create a starting point. Be cautious during this step to avoid applying excessive force, which could damage the plasterboard. Gradually work your way around the tile, tapping and loosening it from the wall.
Employ Heat
For tiles attached with mastic adhesive, heat can be a valuable ally. Use a heat gun or a hairdryer to apply heat to the tiles. The heat softens the adhesive, making it easier to remove the tiles without causing stress to the plasterboard. Maintain a moderate temperature to prevent damage to the wall.
Pry Tiles Off
Once the tiles are loosened, use a pry bar or a scraper to gently pry them away from the wall. Work carefully to prevent unnecessary pressure on the plasterboard. If resistance is encountered, revisit the grout lines to ensure they are adequately cleared.
Clean Residual Adhesive
After the tiles are removed, residual adhesive may remain on the plasterboard. Use a scraper or putty knife to carefully remove any adhesive without scraping or damaging the plasterboard surface. Take your time during this step to ensure a smooth and even finish.
Repair Any Damage
In some cases, minor damage to the plasterboard may occur during the tile removal process. If you encounter small dents or nicks, repair them using a lightweight spackle or joint compound. Allow the compound to dry completely before sanding and painting the repaired area to match the surrounding wall. Removing wall tiles
Dispose of Tiles Properly
Dispose of the removed tiles responsibly. Place them in sturdy containers or wrap them securely in materials like old towels or blankets to prevent breakage during transportation. Consider recycling options if applicable in your area.
Prepare for New Tiles
Once the old tiles are removed and the wall is prepped, you’re ready for the exciting part – installing new tiles. Ensure the wall surface is clean, smooth, and free of any debris or adhesive remnants before applying new tiles.
Conclusion:
Removing wall tiles without damaging plasterboard requires a delicate and systematic approach. By following these step-by-step guidelines, you can successfully renovate your space without compromising the structural integrity of the underlying wall. Remember to prioritize safety, take your time, and exercise patience throughout the process to achieve the best results. With the right tools and techniques, you’ll be well on your way to transforming your walls with a fresh, new look.