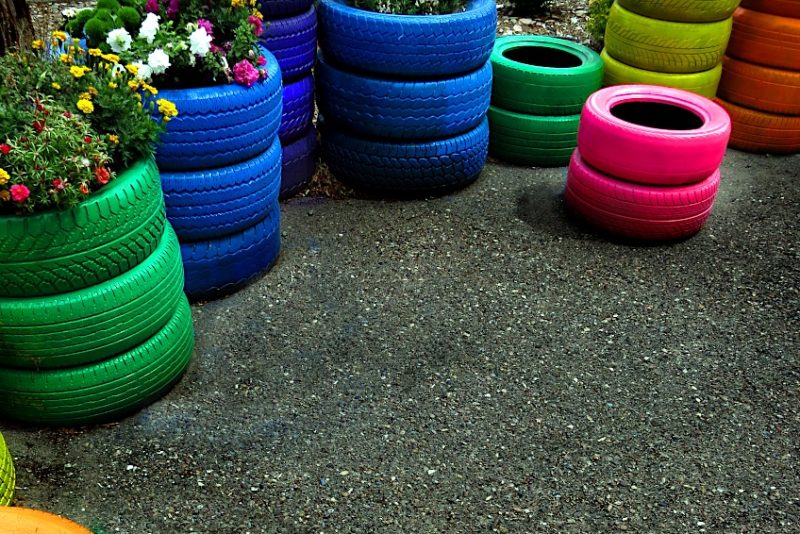
Yes, rubber can be painted, but it requires specific preparation and a certain type of paint for best results. Rubber is a flexible and durable material that can be found in various forms, including tires, door seals, gaskets, and more. Painting rubber can be an effective way to improve its appearance or protect it from environmental damage. However, it is important to follow the right steps to ensure that the paint adheres properly and lasts for a long time. Here’s a step-by-step guide on how to paint rubber.
Step 1: Clean the Rubber Surface
The first step in painting rubber is to clean the surface thoroughly. Dirt, oil, and other debris can prevent the paint from adhering properly. Use a mild soap and water solution to clean the rubber surface, and then rinse it thoroughly with clean water. Dry the surface with a clean cloth or let it air dry completely.
Step 2: Sand the Rubber Surface
Rubber is a non-porous material, which can make it difficult for paint to stick to it. Sanding the surface can help the paint adhere more effectively. Use a fine-grit sandpaper (at least 220 grit) to lightly sand the rubber surface. Be careful not to sand too hard or too much, as this can damage the rubber. The goal is to create a slightly rough surface for the paint to adhere to.
Step 3: Apply Adhesion Promoter
After sanding the surface, apply an adhesion promoter specifically designed for rubber surfaces. This product helps the paint bond to the rubber and improves its adhesion. Apply the adhesion promoter with a clean cloth, and let it dry according to the manufacturer’s instructions.
Step 4: Choose the Right Paint
Choosing the right paint is crucial when painting rubber. The type of paint you use will depend on the specific rubber surface and the conditions it will be exposed to. For example, a paint designed for outdoor use should be used for rubber surfaces exposed to sunlight and moisture. Look for paints that are specifically formulated for use on rubber surfaces, or choose a high-quality enamel paint that is designed to bond to non-porous surfaces.
Step 5: Apply the Paint
Apply the paint to the rubber surface using a paintbrush, roller, or spray gun. Be sure to apply thin, even coats, and let each coat dry completely before applying the next one. Avoid using too much paint at once, as this can cause drips or bubbles. If using a spray gun, make sure to use short, even sprays to prevent overspray.
Step 6: Let the Paint Dry
After applying the final coat of paint, let the rubber surface dry completely. This may take several hours or even overnight, depending on the type of paint used and the environmental conditions. Be patient and don’t rush the drying process, as this can cause the paint to bubble or peel.
Step 7: Apply a Clear Coat (Optional)
If you want to protect the paint and give it a glossy finish, apply a clear coat to the rubber surface. A clear coat will help the paint resist scratches and UV damage, and will give it a shiny appearance. Apply the clear coat using the same method as the paint, and let it dry completely before using the rubber surface.
Conclusion:
Painting rubber requires specific preparation and the right type of paint for best results. By following these steps, you can successfully paint and improve its appearance or protect it from environmental damage. Remember to clean the surface thoroughly, sand it lightly, apply an adhesion promoter, choose the right paint, apply thin, even coats, let the paint dry completely, and apply a clear coat if desired. With the right technique and the right products, you can paint surfaces effectively and make them look like new.

