")
Introduction:
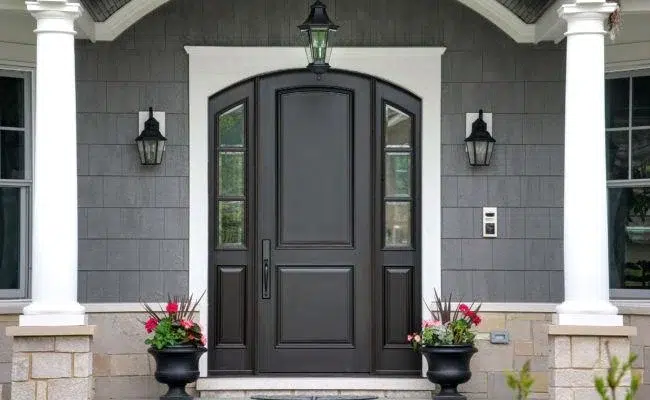
Lemieux exterior doors are known for their exceptional craftsmanship and durability, making them a popular choice for homeowners seeking high-quality entry doors. If you’re planning to install a Lemieux exterior door, it’s important to follow the proper installation process to ensure a secure and weather-tight fit. In this guide, we will walk you through the step-by-step instructions for installing Lemieux exterior doors, helping you achieve a successful and professional installation.
Step 1: Gather the Required Tools and Materials:
Before you begin the installation process, gather all the necessary tools and materials. These may include a tape measure, level, screwdriver, hammer, drill, shims, caulking gun, exterior-grade screws, and the appropriate fasteners provided with the Lemieux exterior door.
Step 2: Measure and Prepare the Opening:
Measure the rough opening to ensure it matches the dimensions of the Lemieux exterior door. Remove the existing door and any trim around the opening. Inspect the rough opening for any signs of damage or rot. Repair or replace any damaged areas to ensure a solid and structurally sound foundation for the new door.
Step 3: Install the Bottom Threshold:
Place the bottom threshold into the opening, ensuring it is centered and level. Adjust the threshold as necessary to achieve a level position. Use shims to support the threshold and provide stability. Secure the threshold in place using screws or fasteners provided with the door. Ensure the threshold is securely attached and level.
Step 4: Position and Install the Door:
Carefully position the Lemieux exterior door into the opening, ensuring it is centered and plumb. Insert shims between the door jamb and rough opening to provide support and maintain proper alignment. Use a level to ensure the door is plumb and adjust the shims as needed. Secure the door in place using screws or fasteners provided with the door.
Step 5: Check for Proper Clearance and Operation:
Once the door is securely installed, check for proper clearance and operation. Open and close the door to ensure it swings freely without any obstructions. Verify that the door sits evenly within the frame and operates smoothly. Make any necessary adjustments to the shims to achieve proper clearance and operation.
Step 6: Insulate and Seal the Door:
To enhance energy efficiency and weather resistance, insulate and seal the door. Apply foam insulation around the perimeter of the door between the door jamb and rough opening. Use caulk to seal any gaps or cracks between the door frame and the rough opening. Ensure a tight seal to prevent air and water infiltration.
Step 7: Install the Exterior Trim:
Install the exterior trim around the door frame to provide a finished and polished appearance. Use a miter saw to cut the trim pieces to the appropriate lengths and angles. Secure the trim in place using screws or nails, ensuring it is flush with the door frame. Fill any nail holes or gaps with wood filler and sand the trim for a smooth finish.
Step 8: Install the Weatherstripping:
Install weatherstripping around the perimeter of the door to further enhance energy efficiency and weather resistance. Attach the weatherstripping to the door jamb using adhesive or screws, following the manufacturer’s instructions. Ensure a tight seal between the door and the weatherstripping to prevent drafts and moisture infiltration.
Step 9: Test and Adjust the Door:
Test the operation of the door by opening and closing it multiple times. Check for proper alignment, smooth operation, and a tight seal. Make any necessary adjustments to the shims, hinges, or hardware to ensure optimal performance. Verify that the door locks securely and the weatherstripping provides a tight seal.
Step 10: Final Touches and Maintenance:
Complete the installation by adding any additional hardware, such as doorknobs, locks, or decorative elements. Clean the door and surrounding area, removing any debris or fingerprints. Regularly inspect and maintain the door according to the manufacturer’s guidelines to ensure its longevity and performance.
Conclusion:
Installing a Lemieux exterior door requires careful preparation, precise measurements, and attention to detail. By following these step-by-step instructions, you can successfully install a Lemieux exterior door, creating a beautiful and functional entryway for your home. Enjoy the durability, craftsmanship, and aesthetic appeal that Lemieux doors bring to your exterior.