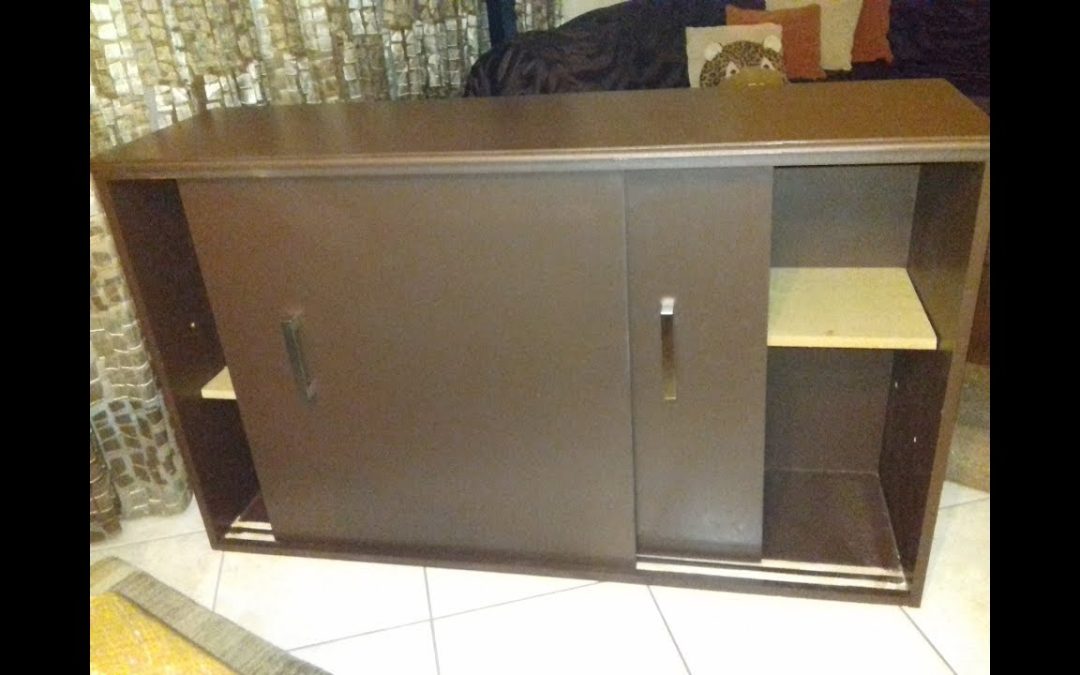
Sliding cabinet doors can be a great addition to your home as they save space and add a modern touch to your decor. Whether you’re looking to update your kitchen cabinets or want to create a custom storage solution in another part of your home, making sliding cabinet doors is a DIY project that you can easily accomplish with the right tools and materials. In this article, we’ll take a look at the steps involved in making sliding cabinet doors.
Materials Needed
Before you get started, you’ll need to gather some materials:
Plywood or another type of wood
Measuring tape
Saw (circular or table saw)
Sandpaper
Wood glue
Clamps
Drill
Screws
Cabinet door hardware (such as track and rollers)
Step 1: Measure the Cabinet Opening
The first step in making sliding cabinet doors is to measure the opening where the doors will be installed. Measure the height and width of the opening and write down these measurements.
Step 2: Cut the Plywood
Using a circular saw or a table saw, cut the plywood into two pieces that are slightly larger than the measurements you took in Step 1. The extra size will allow you to sand down the edges to fit the opening perfectly.
Step 3: Sand the Edges
Using sandpaper, sand down the edges of the plywood until they fit snugly into the opening. Be sure to sand the edges evenly to avoid any gaps between the door and the cabinet.
Step 4: Glue the Plywood
Apply wood glue to the edges of the plywood and clamp the two pieces together. Be sure to apply enough pressure with the clamps to ensure a tight bond. Allow the glue to dry according to the instructions on the label.
Step 5: Install the Track and Rollers
While the glue is drying, install the track and rollers on the top of the cabinet opening. Follow the manufacturer’s instructions for installing the hardware. Be sure to install the track and rollers level to ensure that the doors slide smoothly.
Step 6: Drill Holes for the Handles
Once the glue has dried, drill holes in the center of each door for the handles. Measure the distance between the centers of the holes to ensure that they are evenly spaced.
Step 7: Sand the Doors
Using sandpaper, sand the doors until they are smooth and free of any rough edges. Be sure to sand the edges carefully to avoid any splinters.
Step 8: Install the Handles
Install the handles on the doors using screws. Be sure to tighten the screws securely so that the handles don’t come loose.
Step 9: Install the Doors
Slide the doors into the track and test them to make sure they slide smoothly. Adjust the track and rollers if necessary to ensure that the doors slide easily.
Step 10: Finish the Doors
If desired, you can finish the doors with paint, stain, or another type of finish. Follow the manufacturer’s instructions for applying the finish.
Conclusion
Making sliding cabinet doors is a DIY project that you can easily accomplish with the right tools and materials. By following these steps, you can create custom sliding doors for your cabinets that will save space and add a modern touch to your decor. With a little bit of time and effort, you can create sliding cabinet doors that will enhance the look and functionality of your home.

