Introduction:
The installation of a sliding channel presents a practical solution to enhance the convenience and functionality of numerous applications, including sliding doors, cabinet drawers, and storage compartments. Let’s delve into the instructions! Our detailed instructions will help you achieve a successful installation. Let’s begin!
Gathering the Required Tools and Materials
Before you start installing the sliding channel, make sure you have all the required tools and materials prepared and easily accessible. These include a sliding channels kit, which should be of high quality and tailored to meet your specific requirements. It typically consists of the channel, rollers, screws, and other necessary components.
Measuring Tape: Measure the dimensions of the area where you plan to install the sliding channel. This step is crucial to ensure proper alignment and fit.
Screwdriver: A screwdriver, either manual or electric, will be required to secure the sliding channel in place.
Pencil or Marker: Use a pencil or marker to mark the areas where you need to install the sliding channels.
Installation Process
With all the necessary tools and materials at hand, you can now proceed to follow these steps for installing the sliding channel:
Mark the Placement: Using a pencil or marker, mark the locations where you will install the sliding channels. Ensure that the markings are level and aligned.
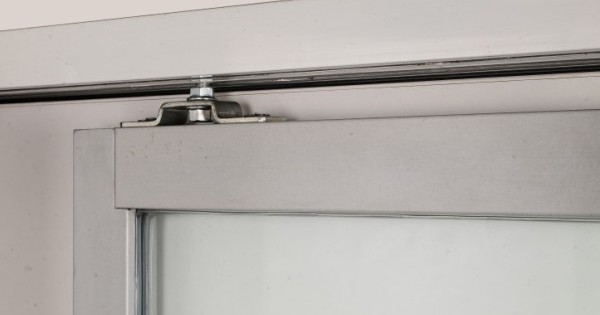
Attach the Channel: Take the sliding channels and align it with the markings you made. Use screws to secure the channel in place. Make sure to distribute the screws evenly along the length of the channel for optimal support.
Install Rollers: Once the channel is securely attached, proceed to install the rollers. Attach them to the designated slots in the channel, ensuring they are aligned properly. These rollers will enable smooth sliding motion.
Test the Sliding Motion: After installing the rollers, test the sliding motion of the channel to ensure it moves smoothly and effortlessly. Make any necessary adjustments if required.
Safety Precautions
During the installation process, it is important to keep the following safety precautions in mind:
Read the Instructions: Carefully read and follow the instructions provided with your sliding channels kit. Each kit may have specific guidelines and requirements.
Use Proper Support: If you are installing heavy sliding channels, make sure to use appropriate support mechanisms to prevent any accidents or damage.
Conclusion:
By following this step-by-step guide, you can successfully install sliding channels to improve the functionality of various applications. Remember to gather the necessary tools and materials, mark the placement accurately, attach the channel securely, install the rollers properly, and test the sliding motion. With the right installation, your sliding channeles will provide convenience and ease of use. Enjoy the benefits of your newly installed sliding channel and make the most of its functionality.

