")
Installing a shower drain on a concrete slab can seem like a daunting task, but with the right tools and knowledge, it can be done successfully. In this guide, we will walk you through the steps needed to install a shower drain on a concrete slab.
Before beginning, it is important to gather all the necessary tools and materials. Here is a list of what you will need:
Tools:
Measuring tape
Pencil or marker
Hammer drill
Masonry drill bits
Adjustable wrench
PVC pipe cutter
Channel-lock pliers
Trowel
Level
Materials:
Shower drain assembly
PVC drain pipe
PVC cement
Silicone sealant
Gravel or sand
Concrete mix
Step 1: Determine the Location of the Drain
The first step is to determine the location of the drain. This will depend on the size and shape of the shower pan you are using. Using a measuring tape and pencil or marker, mark the location of the drain on the concrete slab.
Step 2: Prepare the Drain Assembly
Once you have determined the location of the drain, it is time to prepare the drain assembly. The drain assembly typically consists of a base, a strainer, and a drain pipe. Follow the manufacturer’s instructions to assemble the drain.
Step 3: Drill a Hole in the Concrete
Using a hammer drill and a masonry drill bit, drill a hole in the concrete where you have marked the location of the drain. The size of the hole should be slightly larger than the drain pipe to allow for some movement.
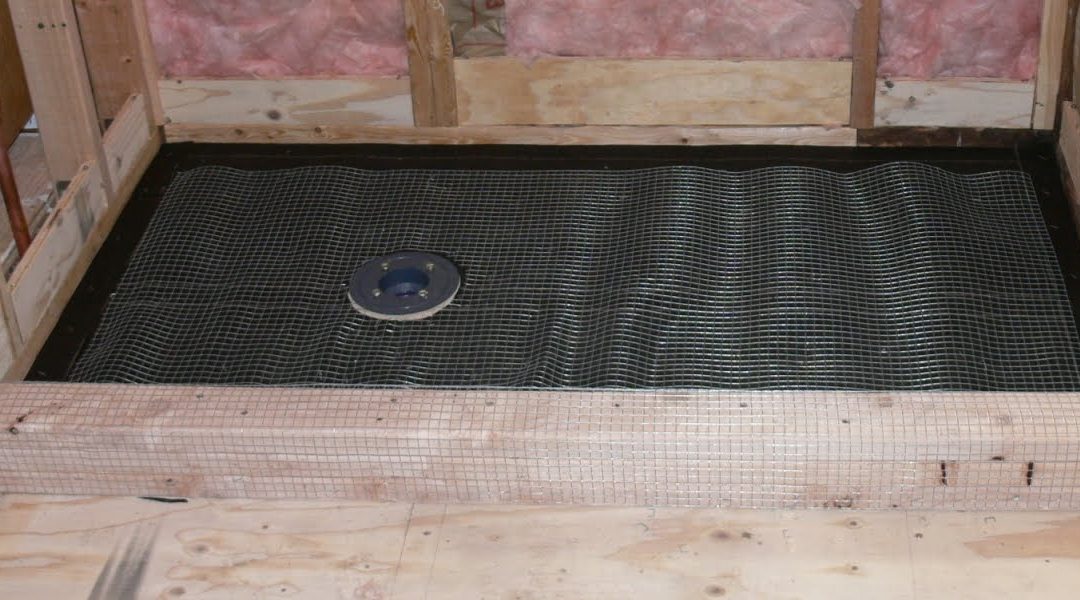
Step 4: Install the Drain Base
Insert the drain base into the hole and make sure it is level. Use gravel or sand to create a base for the drain. This will help prevent the drain from shifting over time.
Step 5: Connect the Drain Pipe
Connect the drain pipe to the drain base. Make sure the drain pipe is level and use a PVC pipe cutter to cut it to the appropriate length. Use PVC cement to secure the drain pipe to the base.
Step 6: Test the Drain
Before pouring concrete, it is important to test the drain to ensure it is working properly. Pour a small amount of water into the drain and check to see if it drains properly. If there are any issues, make adjustments as needed.
Step 7: Pour the Concrete
Once you are satisfied that the drain is working properly, it is time to pour the concrete. Use a trowel to spread the concrete mix evenly over the area, making sure to cover the drain base and pipe.
Step 8: Install the Strainer
After the concrete has cured, it is time to install the strainer. Apply a thin layer of silicone sealant around the edge of the drain and insert the strainer. Tighten the screws to secure the strainer in place.
Step 9: Connect the Shower Drain to the Plumbing
The final step is to connect the shower drain to the plumbing. Use channel lock pliers to tighten the drain pipe to the plumbing. Test the shower to ensure it is working properly.
Conclusion:
Installing a shower drain on a concrete slab may seem like a daunting task, but it is actually a straightforward process. By following these steps, you can install a shower drain on a concrete slab and enjoy a functional and efficient shower. Remember to take your time, use the right tools and materials, and follow the manufacturer’s instructions to ensure a successful installation.