")
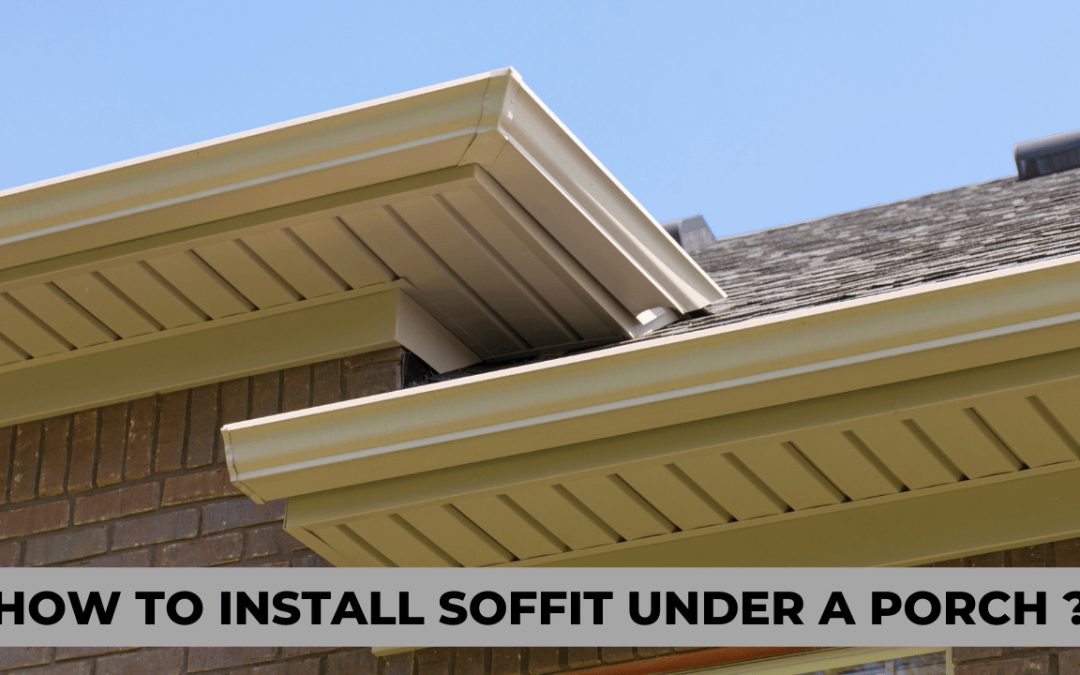
Installing a soffit under a porch can add a finishing touch to your home’s exterior and also help keep pests and debris out of the area. Here’s a step-by-step guide on how to install a soffit under a porch.
Tools and Materials You’ll Need:
Measuring tape
Soffit panels
J-channel
Screws
Drill
Circular saw
Safety glasses
Ladder
Level
Hammer
Nails
Step 1: Measure the Space
The first step is to measure the area where you want to install the soffit. Measure the width of the porch and the distance from the bottom of the roof to the top of the porch beam. This will help you determine how much soffit material you need.
Step 2: Choose Your Soffit Material
There are a few different materials you can use for soffit, such as wood, vinyl, or aluminum. Choose a material that suits your style and budget. Vinyl is a popular choice as it’s durable, low-maintenance, and comes in a variety of colors.
Step 3: Install J-Channel
J-channel is used to hold the soffit panels in place. Begin by installing J-channel along the edges of the porch where you plan to install the soffit. Cut the J-channel to size using a circular saw, then nail it in place. Make sure it’s level.
Step 4: Measure and Cut the Soffit Panels
Measure the distance between the J-channel on each side of the porch, and cut the soffit panels to size using a circular saw. Be sure to wear safety glasses when cutting the panels.
Step 5: Install the Soffit Panels
Start by inserting the soffit panel into the J-channel on one side of the porch. Push it up into the channel on the other side of the porch, making sure it’s level. Screw the panel into place using screws with a flat head that won’t protrude. Space the screws about 12-16 inches apart.
Step 6: Continue Installing Soffit Panels
Continue installing the soffit panels, working your way from one end of the porch to the other. Make sure each panel is level and securely fastened.
Step 7: Install the Final Soffit Panel
When you reach the final soffit panel, you’ll need to cut it to fit. Measure the distance between the J-channel on either side of the porch and subtract about 1/4 inch from the measurement. This will allow room for the panel to expand and contract with temperature changes.
Cut the panel to size using a circular saw, then slide it into the J-channel on one side of the porch. Push it up into the channel on the other side of the porch, making sure it’s level. Screw it into place, being careful not to over-tighten.
Step 8: Install Trim
If you want to add trim to the soffit, measure the distance between the J-channel on each side of the porch and cut the trim to size. Install the trim using nails or screws, making sure it’s level.
Step 9: Clean Up
Once you’ve finished installing the soffit, clean up any debris or sawdust. Step back and admire your handiwork!
Conclusion:
Installing soffit under a porch is a relatively easy project that can be completed in a weekend. The key is to measure carefully, use the right materials, and take your time. With a little bit of effort, you can add a finishing touch to your home’s exterior and keep pests and debris out of the area.