")
Building an RV roof can be a complex and daunting task, but with the right tools and materials, it can be done successfully. Here is a step-by-step guide to constructing an RV roof:
Plan the Design and Materials Needed
The first step in constructing an RV roof is to plan the design and materials needed. This will involve deciding on the type of roof you want, the size and shape, and the materials you will need. The most common types of RV roofs are flat or slightly sloped, with a membrane roof covering made of materials like rubber, TPO, or PVC.
Remove the Old Roofing
Before constructing a new RV roof, it is essential to remove any old roofing materials that may be present. This process typically involves removing the old membrane roof covering, as well as any insulation or decking materials that may be present.
Check the Roof Decking
Once the old roofing has been removed, the next step is to check the roof decking for any signs of damage or rot. If the decking is damaged, it will need to be repaired or replaced before the new roof is constructed.
Install New Insulation
After the decking has been repaire, the next step is to install new insulation. This can done using rigid foam insulation boards, spray foam insulation, or fiberglass batts. The insulation should cut to fit the size and shape of the roof, and should install flush against the decking.
Install the New Roof Decking
Once the insulation has been install, the new roof decking can install. This is typically done using plywood sheets that are cut to size and screwe into place. The decking should install with a slight slope to allow for water runoff.
Install the Roof Membrane
The next step is to install the roof membrane. This can done using a variety of materials, including EPDM rubber, TPO, or PVC. The membrane should cut to size and laid out on the roof decking, with enough overhang on each side to allow for proper sealing. Building an RV roof
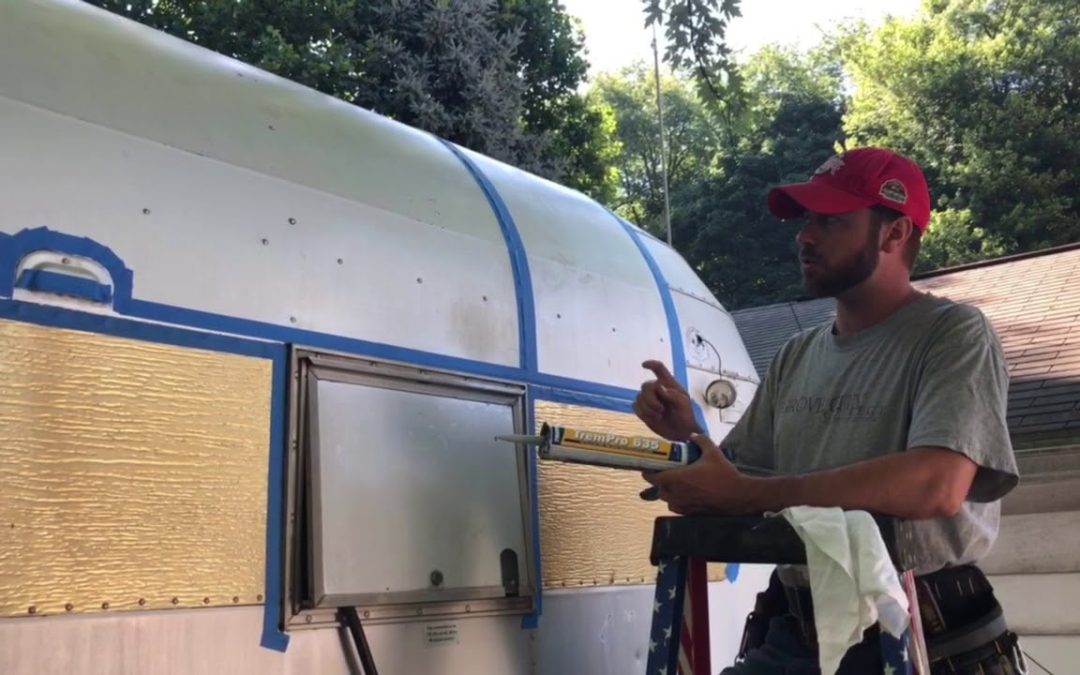
Seal the Edges and Seams
Once the membrane has been laid out, the edges and seams should be sealed using a specialized adhesive or sealant. This will help to prevent water from seeping under the membrane and causing damage.
Install Roofing Accessories
The final step in constructing an RV roof is to install any necessary roofing accessories. This may include vents, skylights, or air conditioning units. These accessories should install using specialized mounting brackets and sealed to prevent water from entering the RV.
Overall, constructing an RV roof can be a time-consuming and challenging process. However, with the right tools and materials, it can done successfully. By following these steps and taking the time to carefully plan and execute the project, you can create a high-quality RV roof that will provide years of reliable service.